Case Study - a New Garden Shed from Recycled Materials
Case Study - a New Garden Shed from Recycled Materials
Instead of buying a premade garden shed, I was able to build my own using recycled materials left over after my house extension and loft conversion project. Building my own shed saved me a lot of money and at the same time gave me a great level of satisfaction.
Earlier on during my extension and loft conversion project there was a lot of wood and other stuff that I carefully kept for future use. I like to recycle as much as possible and I also like to save money whenever I can. Builders are busy people and if you leave them to their own devices they will just take everything that is surplus to requirement and they will put it in the skip with the rest of the rubbish.
Right from the start, I discussed with my builders the fact that I wanted to save as much as possible, so we agreed that they would keep anything that I might want and put it beside the skip, rather than in the skip. I would then go through the pile of stuff each evening and remove anything that I thought could be reusable. Large lengths of recycled timber went into my garage. Small offcuts of wood went into my firewood store. Metal was also collected up and was later taken to the recycling centre but I did keep a lot of the nails as I felt that most of these could be reused.
A major part of the loft conversion project was cutting out all the existing premade truss rafters. Here the builders took a lot of care to make sure that each piece was cut out retaining as much length as possible (rather than being chopped out as small pieces). I then took each piece and removed all the metal nail plate fasteners (metal gussets). Removing these metal gussets initially proved to be almost impossible, but with perseverance, I eventually worked out how to use various tools to get the right result (crowbar, hammer, pinchers, screw drivers etc). It was a lot of work but I managed to salvage quite a few good lengths of timber and also more firewood.
By the time the extension project was completed I had successfully collected up a number of lengths of unused timber, quite a few lengths of recycled timber, a few bags of cement, a bag of ballast and some recycled concrete blocks. I also had quite a few left over roof tiles.
Two of my neighbours decided to take on my builders for some further work. They also ended up with quite a few roof tiles left over and they were more than happy to pass these on for me to add to my collection.
Eventually all the various building projects in my street were finished, the builders moved off site, and it was time for me to make a start on my garden shed. Most people wanting a garden shed just order a premade shed, rather than building it from scratch. Premade sheds are very good value for money but they are built from very flimsy materials and will only last about 10 years before they start to completely fall apart. My preference was to build something more substantial.
Keeping in mind what recycled materials I had available, I now needed to design my shed. The first thing was to figure out what restrictions I would face. In my local area, planning consent is required for any sheds over 2.5m in height so I needed to make sure that my shed would be 2.5m max and no higher. The lengths of my recycled timber planks was also important. There were quite a few lengths of around 3m, but nothing much longer than that, so I decided to make the floor area of my shed to be approx 3m by 3m. I wanted to be able to stand up inside the shed, which meant that the inside height needed to be a minimum of 1.85m. The shed would have a door at one end and I had also kept a recycled window to put at the back. It would not be possible to see out of the window as it was only a foot away from the boundary fence but my feeling was that it would let in a little bit of light and so stop the inside from being completely dark.
At this stage, I should have really drawn out a detailed design with all the measurements but in fact I did not bother. I ended up designing it as I went along and this turned out to be fine.
I dug out the ground to about 6 inches and removed about 4 large bags of soil and flint stones (about 4x 100kgm). Later on I separated the soil from the stones and as it turned out I was able to reuse these in my next project (rebuilding the garden).
Although I had some cement and ballast left over from the extension project, there was not quite enough so I had to buy some more.
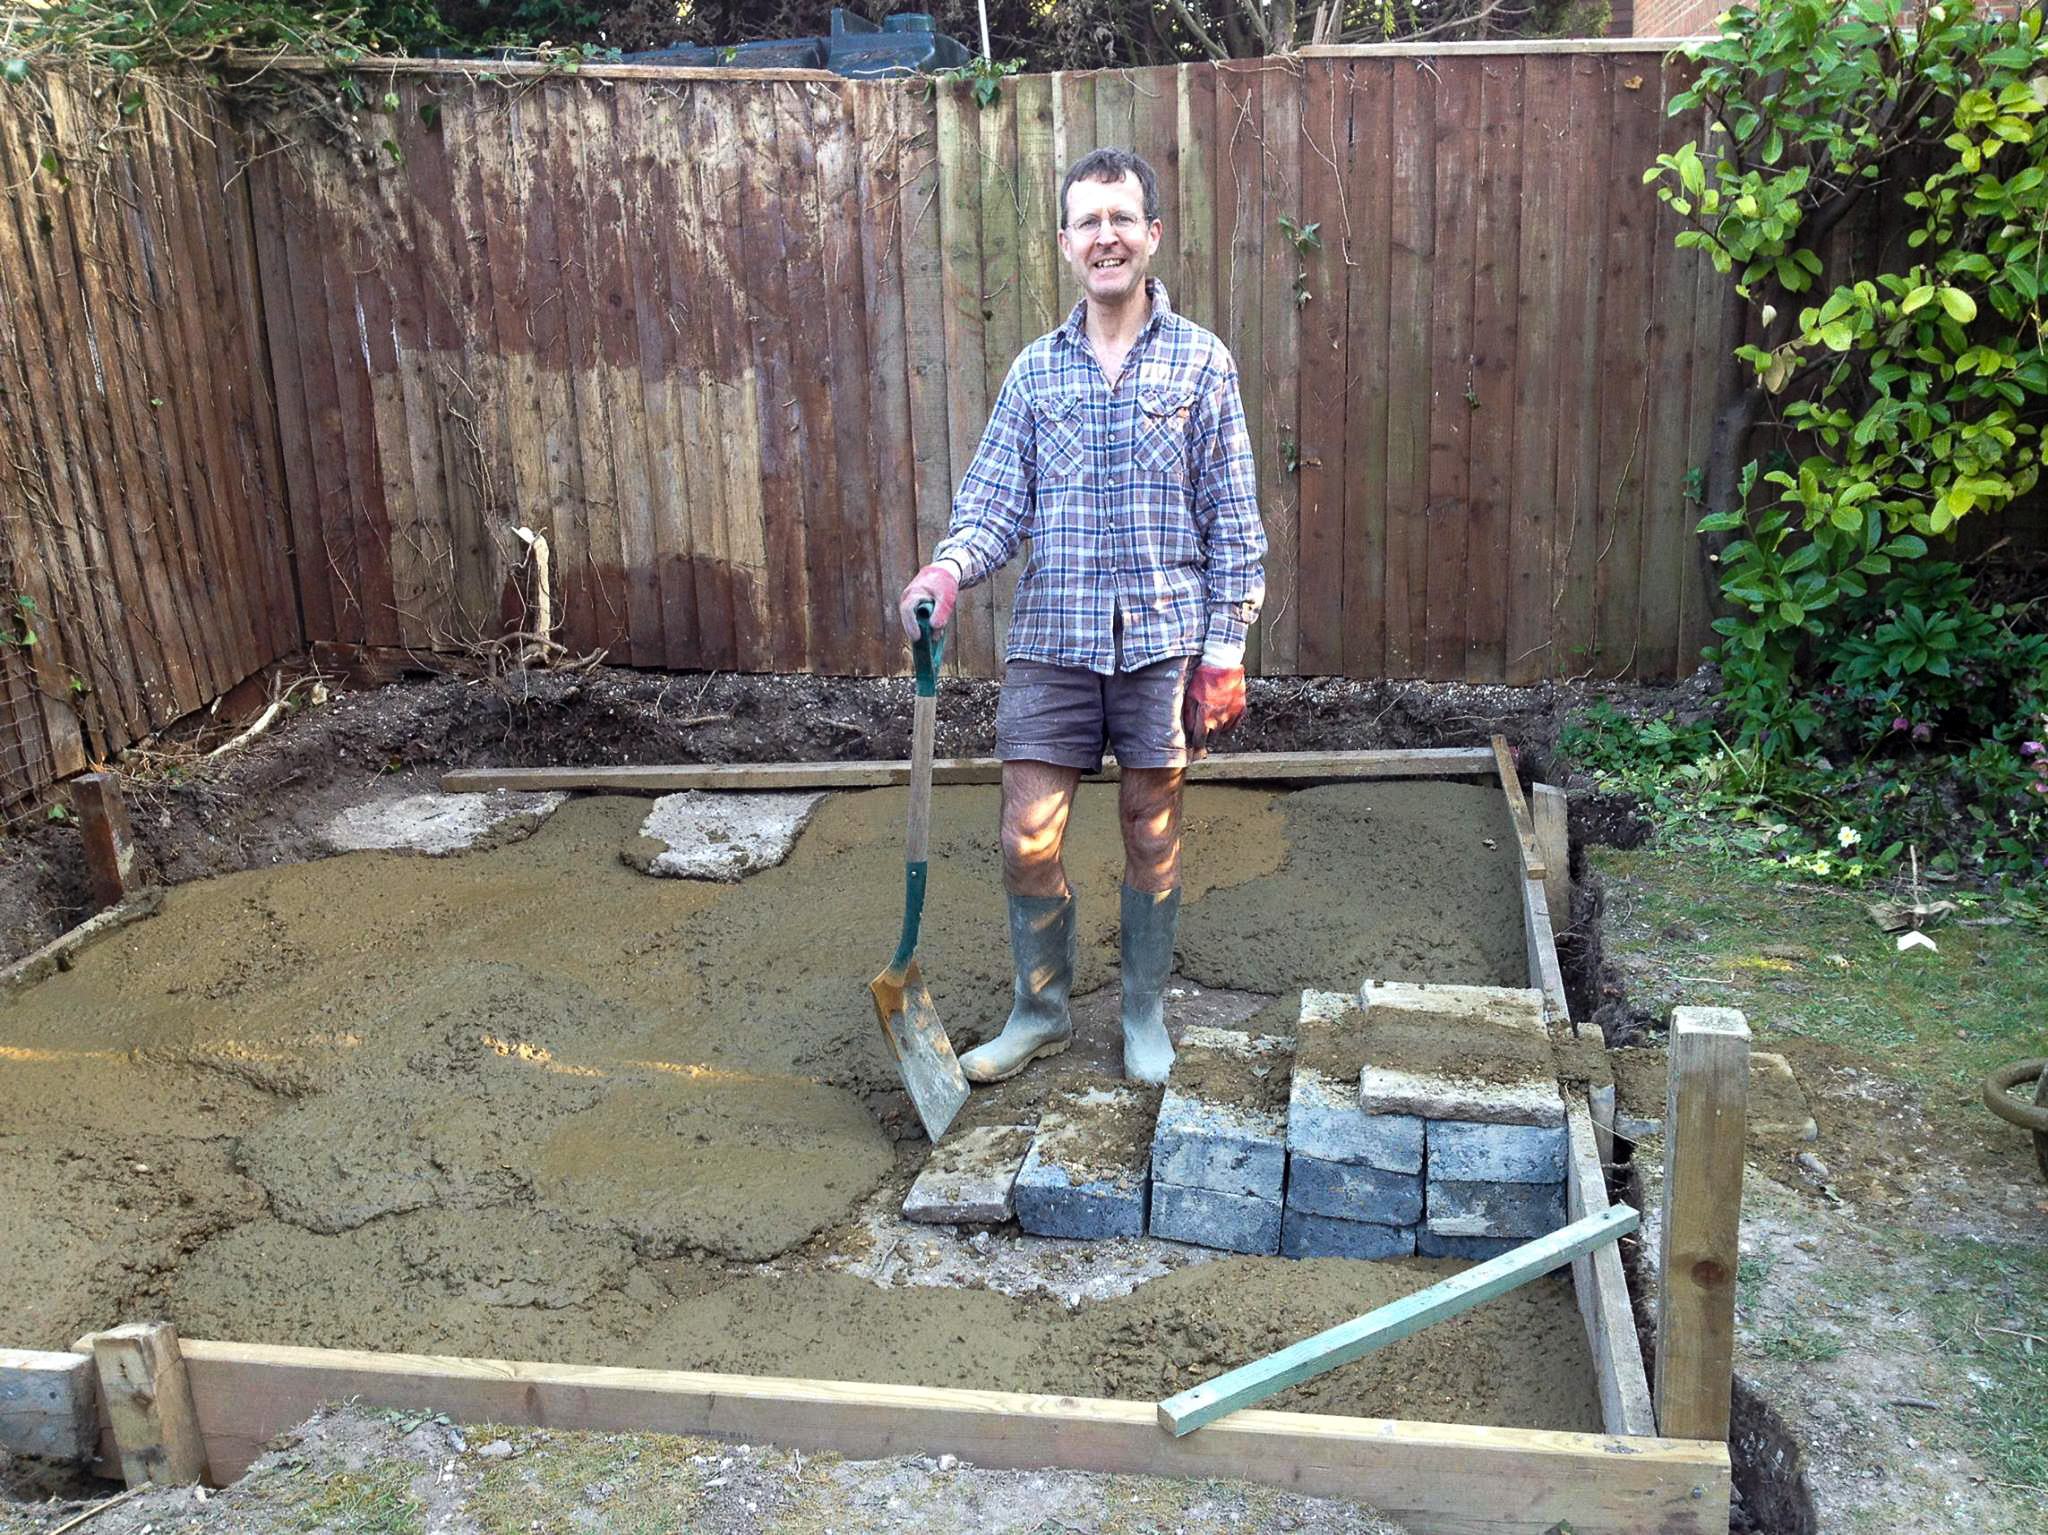
Around the side of my excavations I placed some timber planks to define the edge of the cement floor. I then stamped down the soil with my feet and threw in a few broken bricks and bits of rubble (rather than putting them in a skip). Using a borrowed cement mixer, I made the cement up and poured it into the hole to make the floor and foundations. I was careful to ensure that it was no thinner than 6 inches as I did not want to risk the cement cracking and breaking up in a few years time. I also put a slight slope towards the door, my thought here being that if any water got into the shed, it would run out the door rather than sitting in a wet pool. To do this I had to buy a new tool, a very long yellow aluminium level (2m in length). I then left the new concrete floor to dry for a week.
I did not want the timber frame to sit directly on the concrete floor, as this would have meant that the timber could have got damp in the winter and so would have eventually rotted. So instead, onto the concrete floor, I made up a low lying wall using some of my recycled concrete blocks. The top of the wall was to be completely level. I had never laid bricks (or blocks) before but I found it was fairly straight forward with the help of a tight piece of string and my new 2m level. Laying the blocks horizontally, rather than vertically, also made it easier. I just laid three courses and this gave me a height of about 30cm above the concrete floor. Again I left it a good week to dry.
Now it was time for the timber frame. I built the four wall frames and then erected them on top of the low concrete wall with a strip of building paper between the wood and the bricks, again to help keep the wood dry.
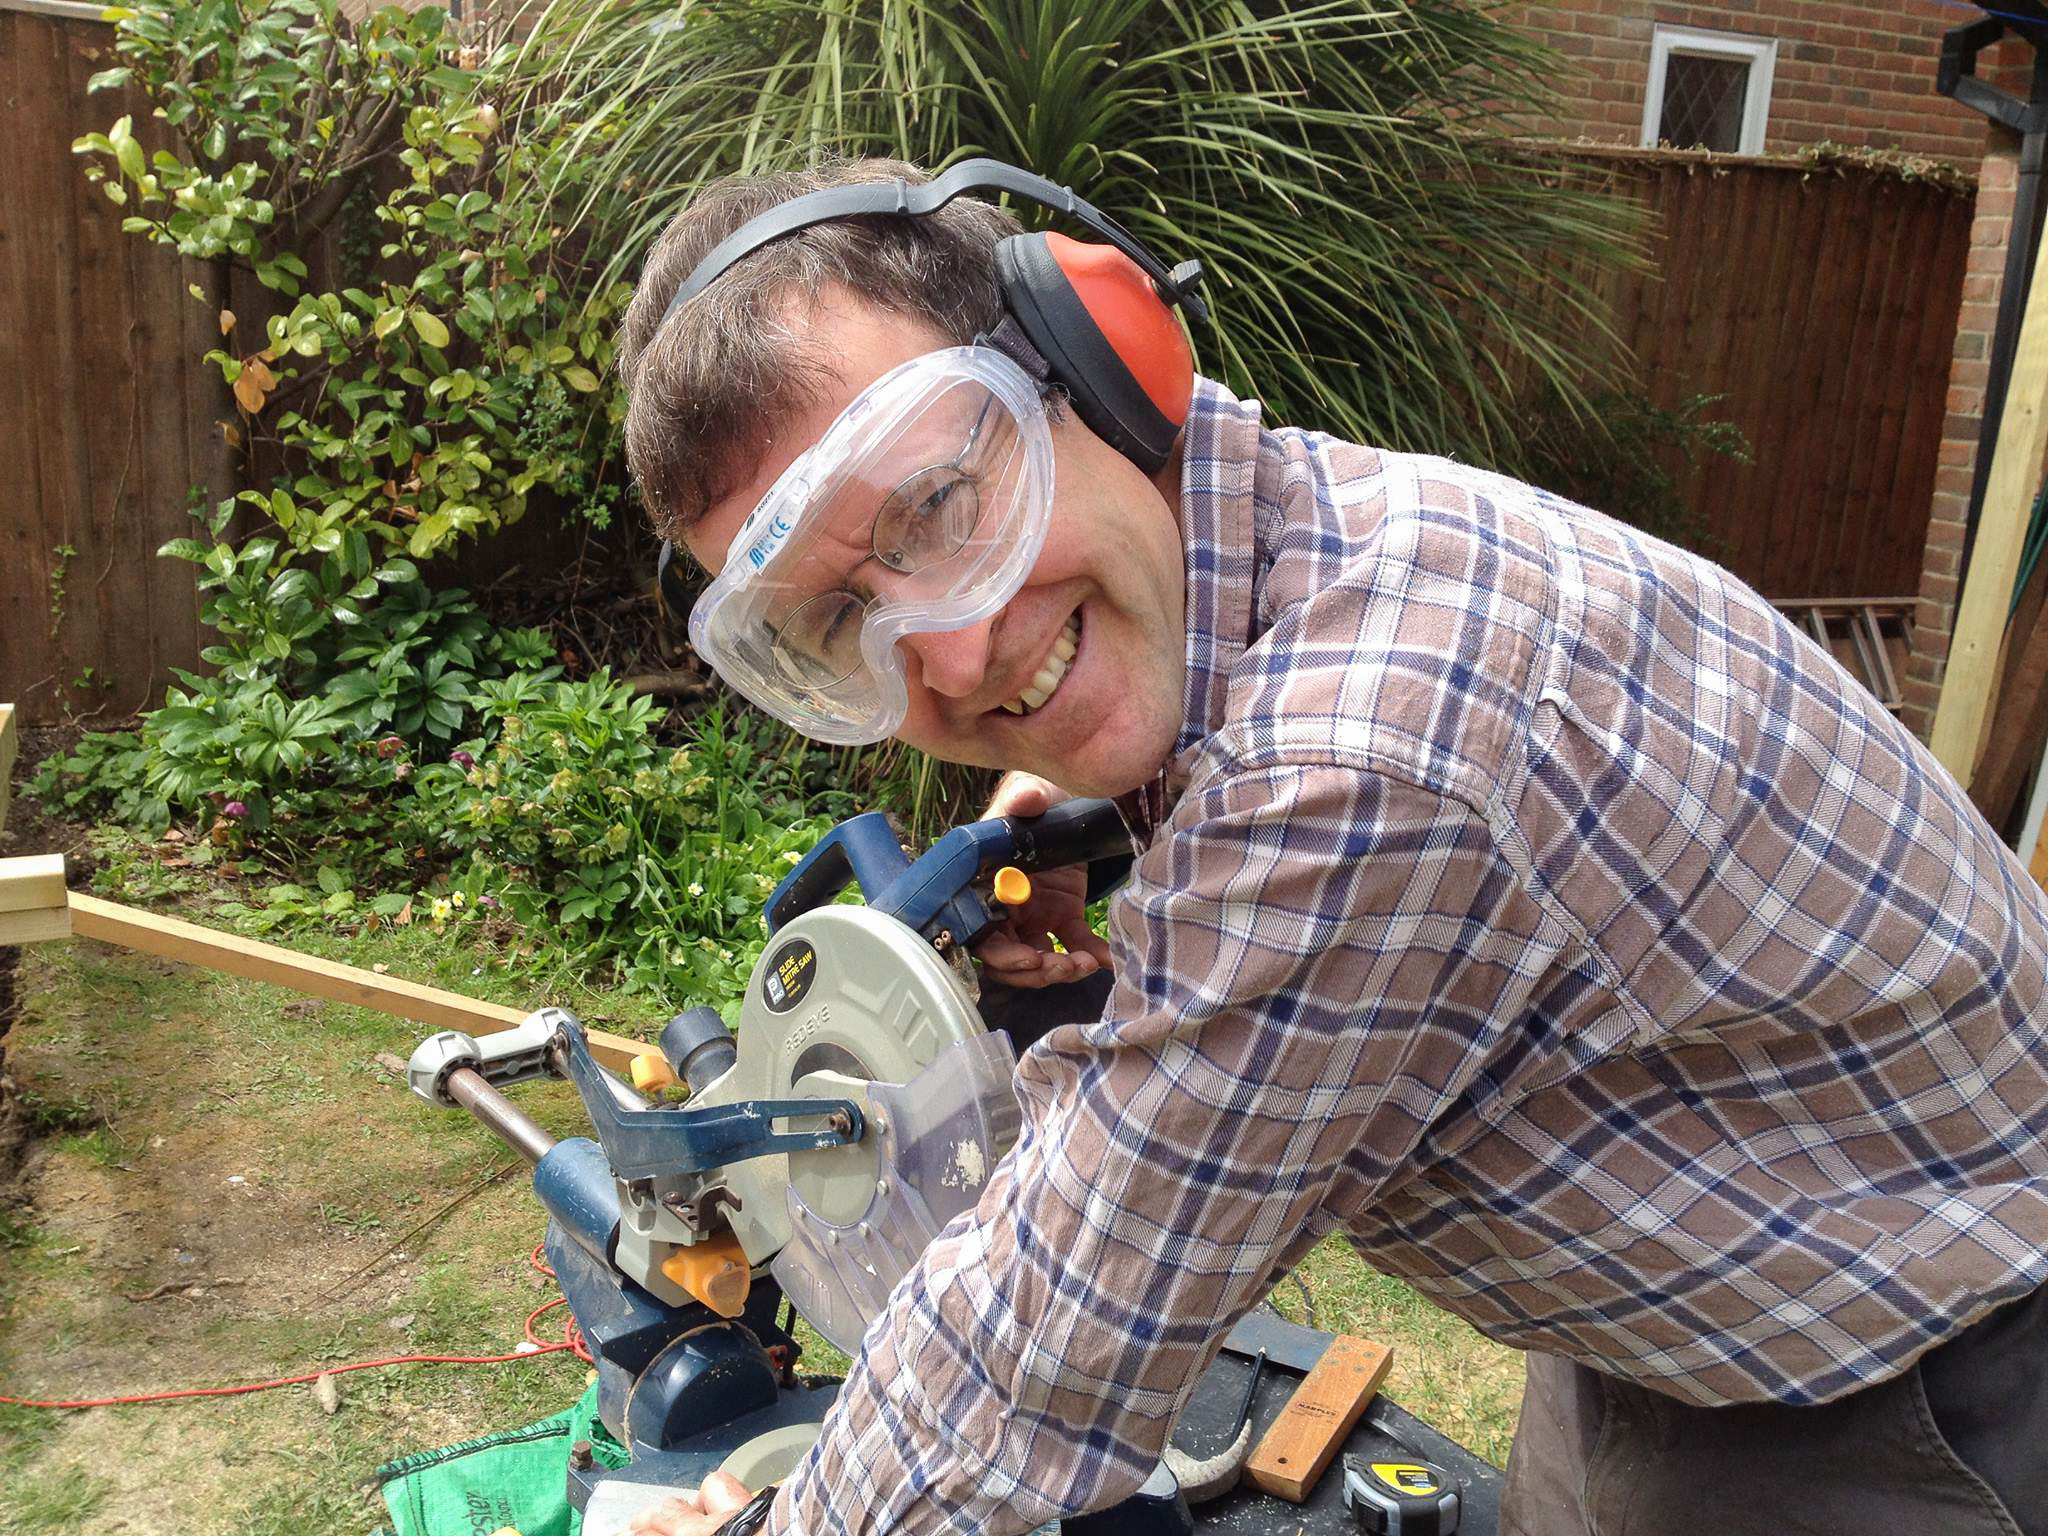
Next was the roof supports. This was complicated as it was all funny angles rather than right angles, so it took a fair bit of time but I got there eventually. To give it more strength I then nailed laminated OSB panels (Oriented Strand Board) around the walls and over the roof.
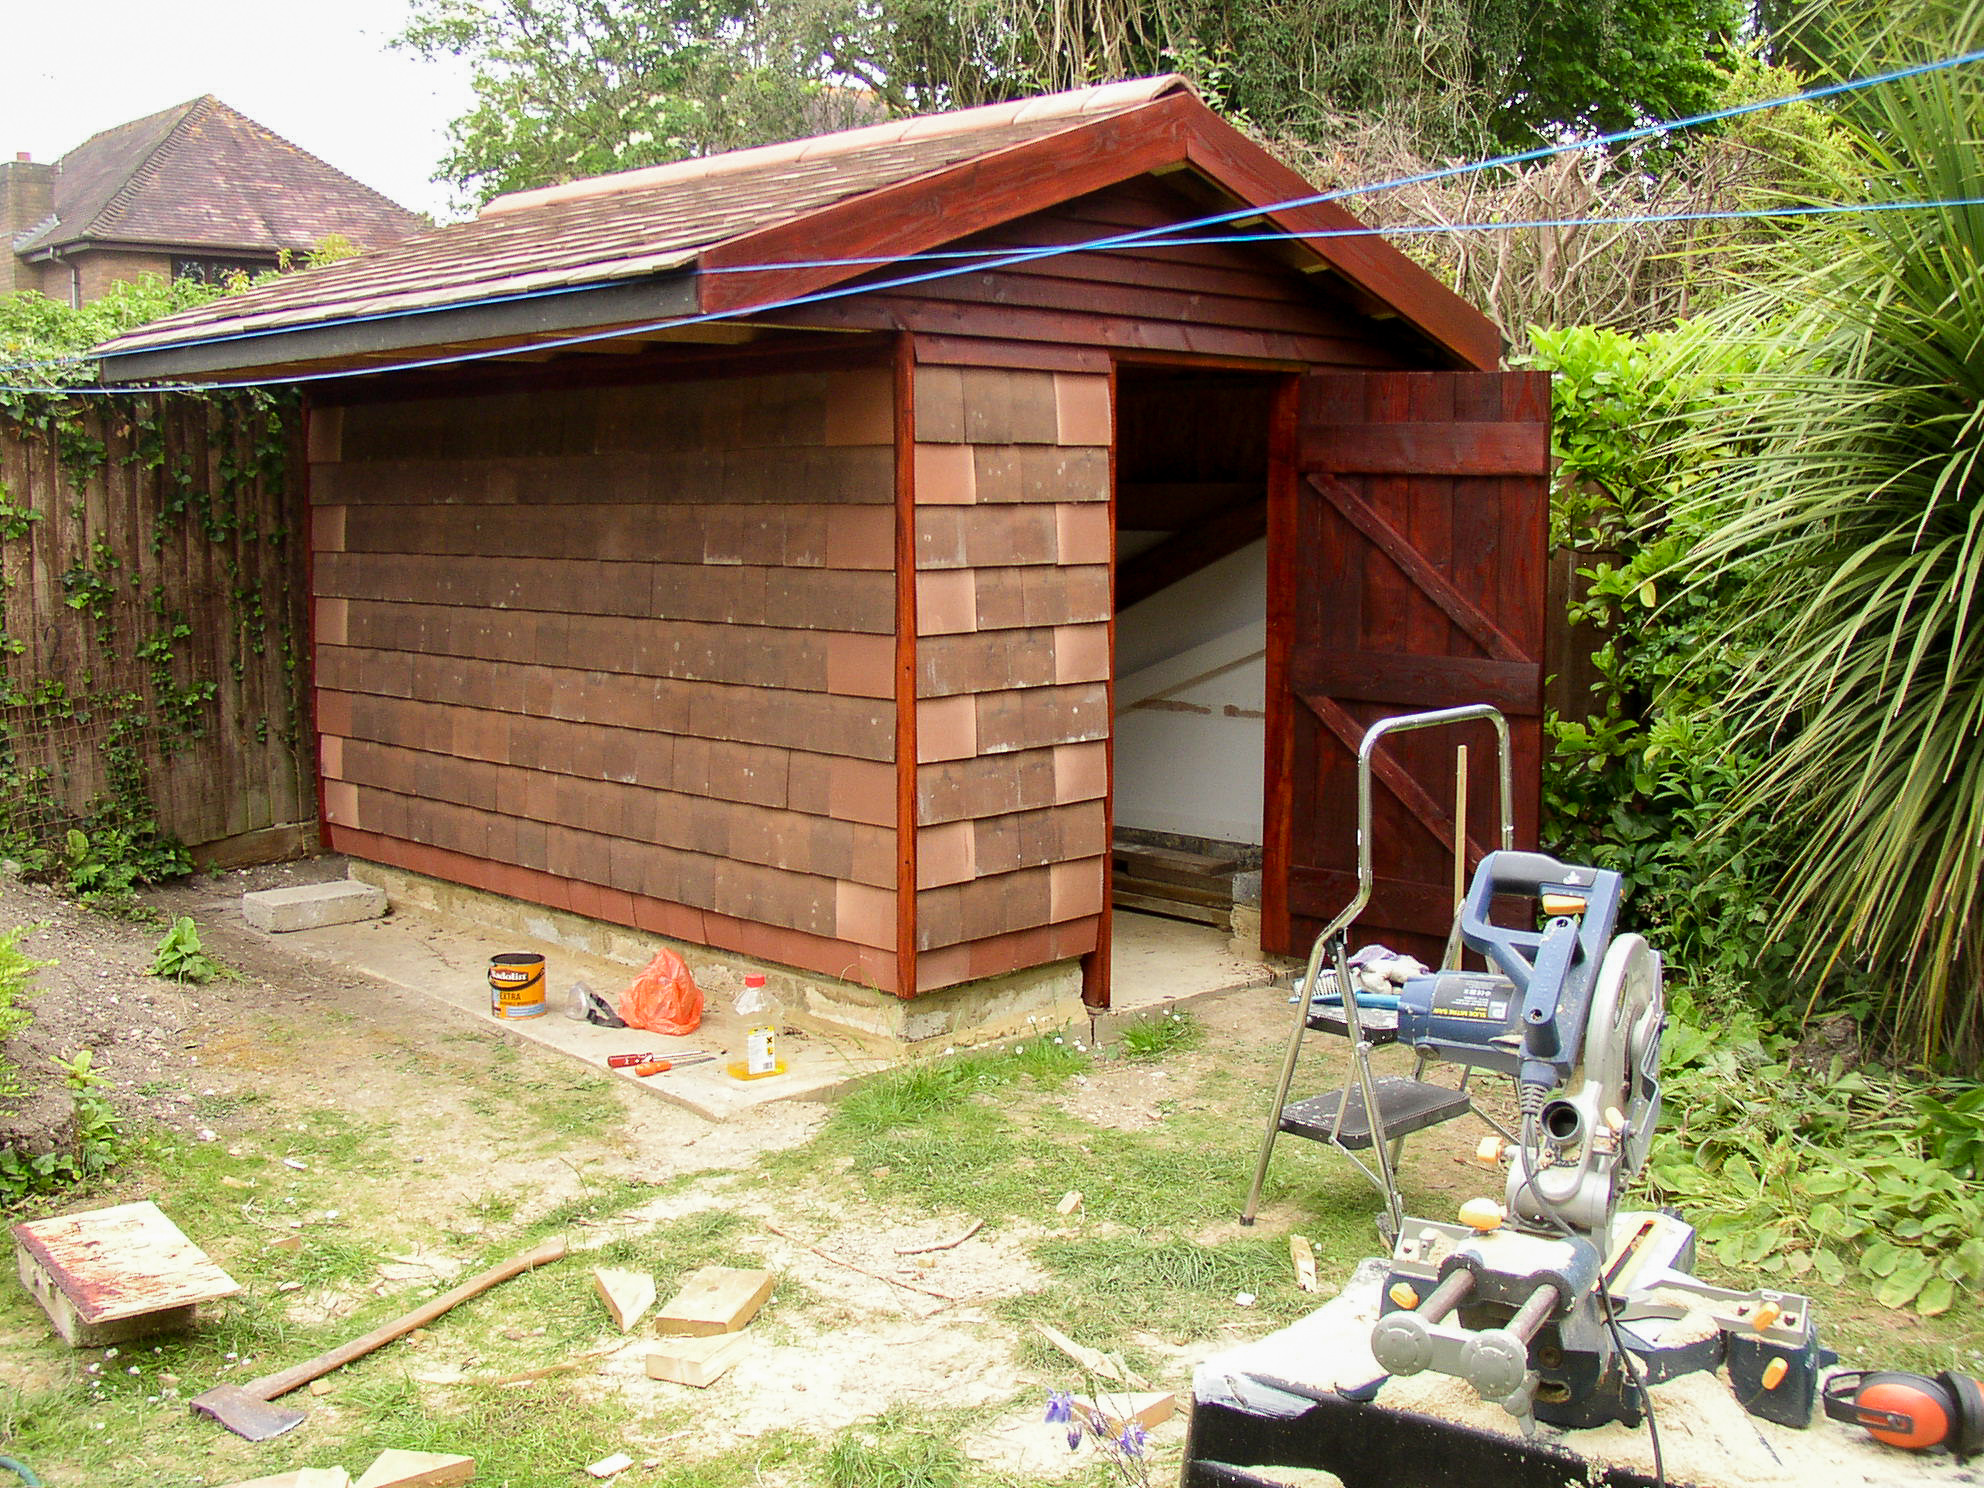
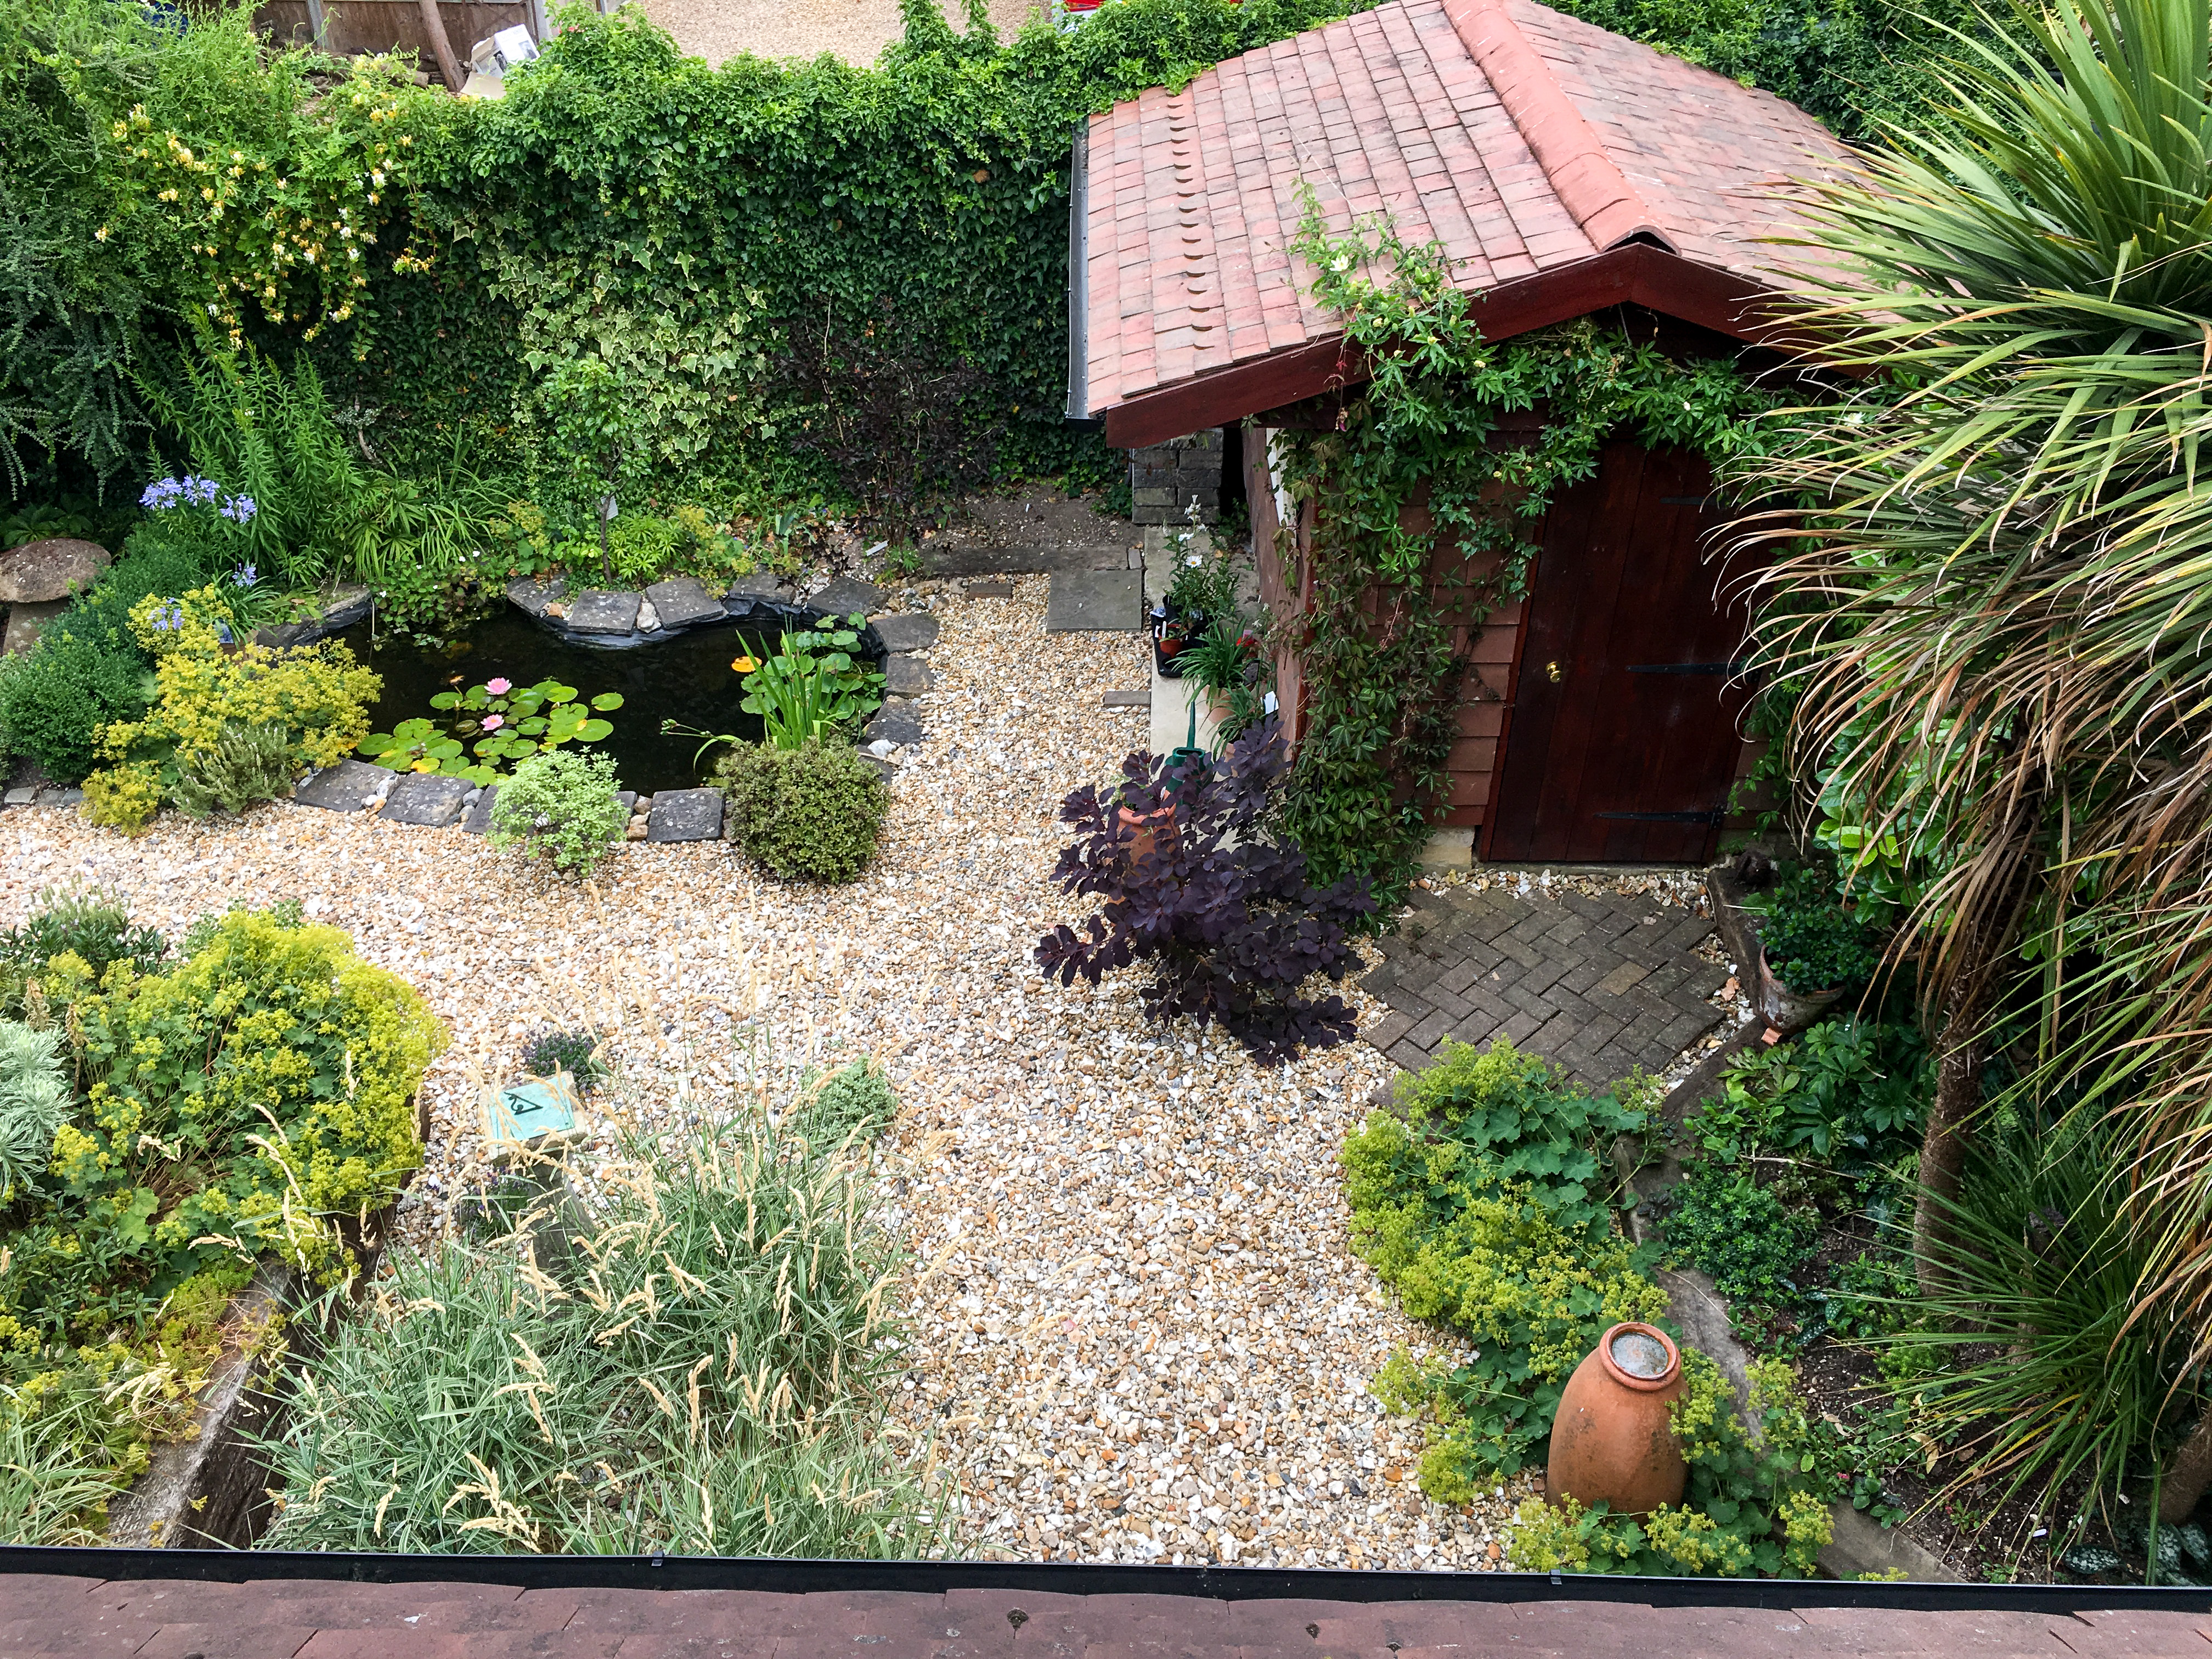
I counted up the number of recycled roof tiles and realised that, in addition to covering the roof, I would actually have enough to cover all four walls. I tacked the building paper over the roof and walls, then nailed on the battens and then added the tiles. Again this took quite a long time but I just worked away steadily at it until all was done.
In the frame for the back wall, I had left space for my recycled window. As it turned out, I had got the measurements just right and so the window fitted perfectly.
I wasn’t able to find a recycled door so I bought some planks and made up a new door to be just the right size.
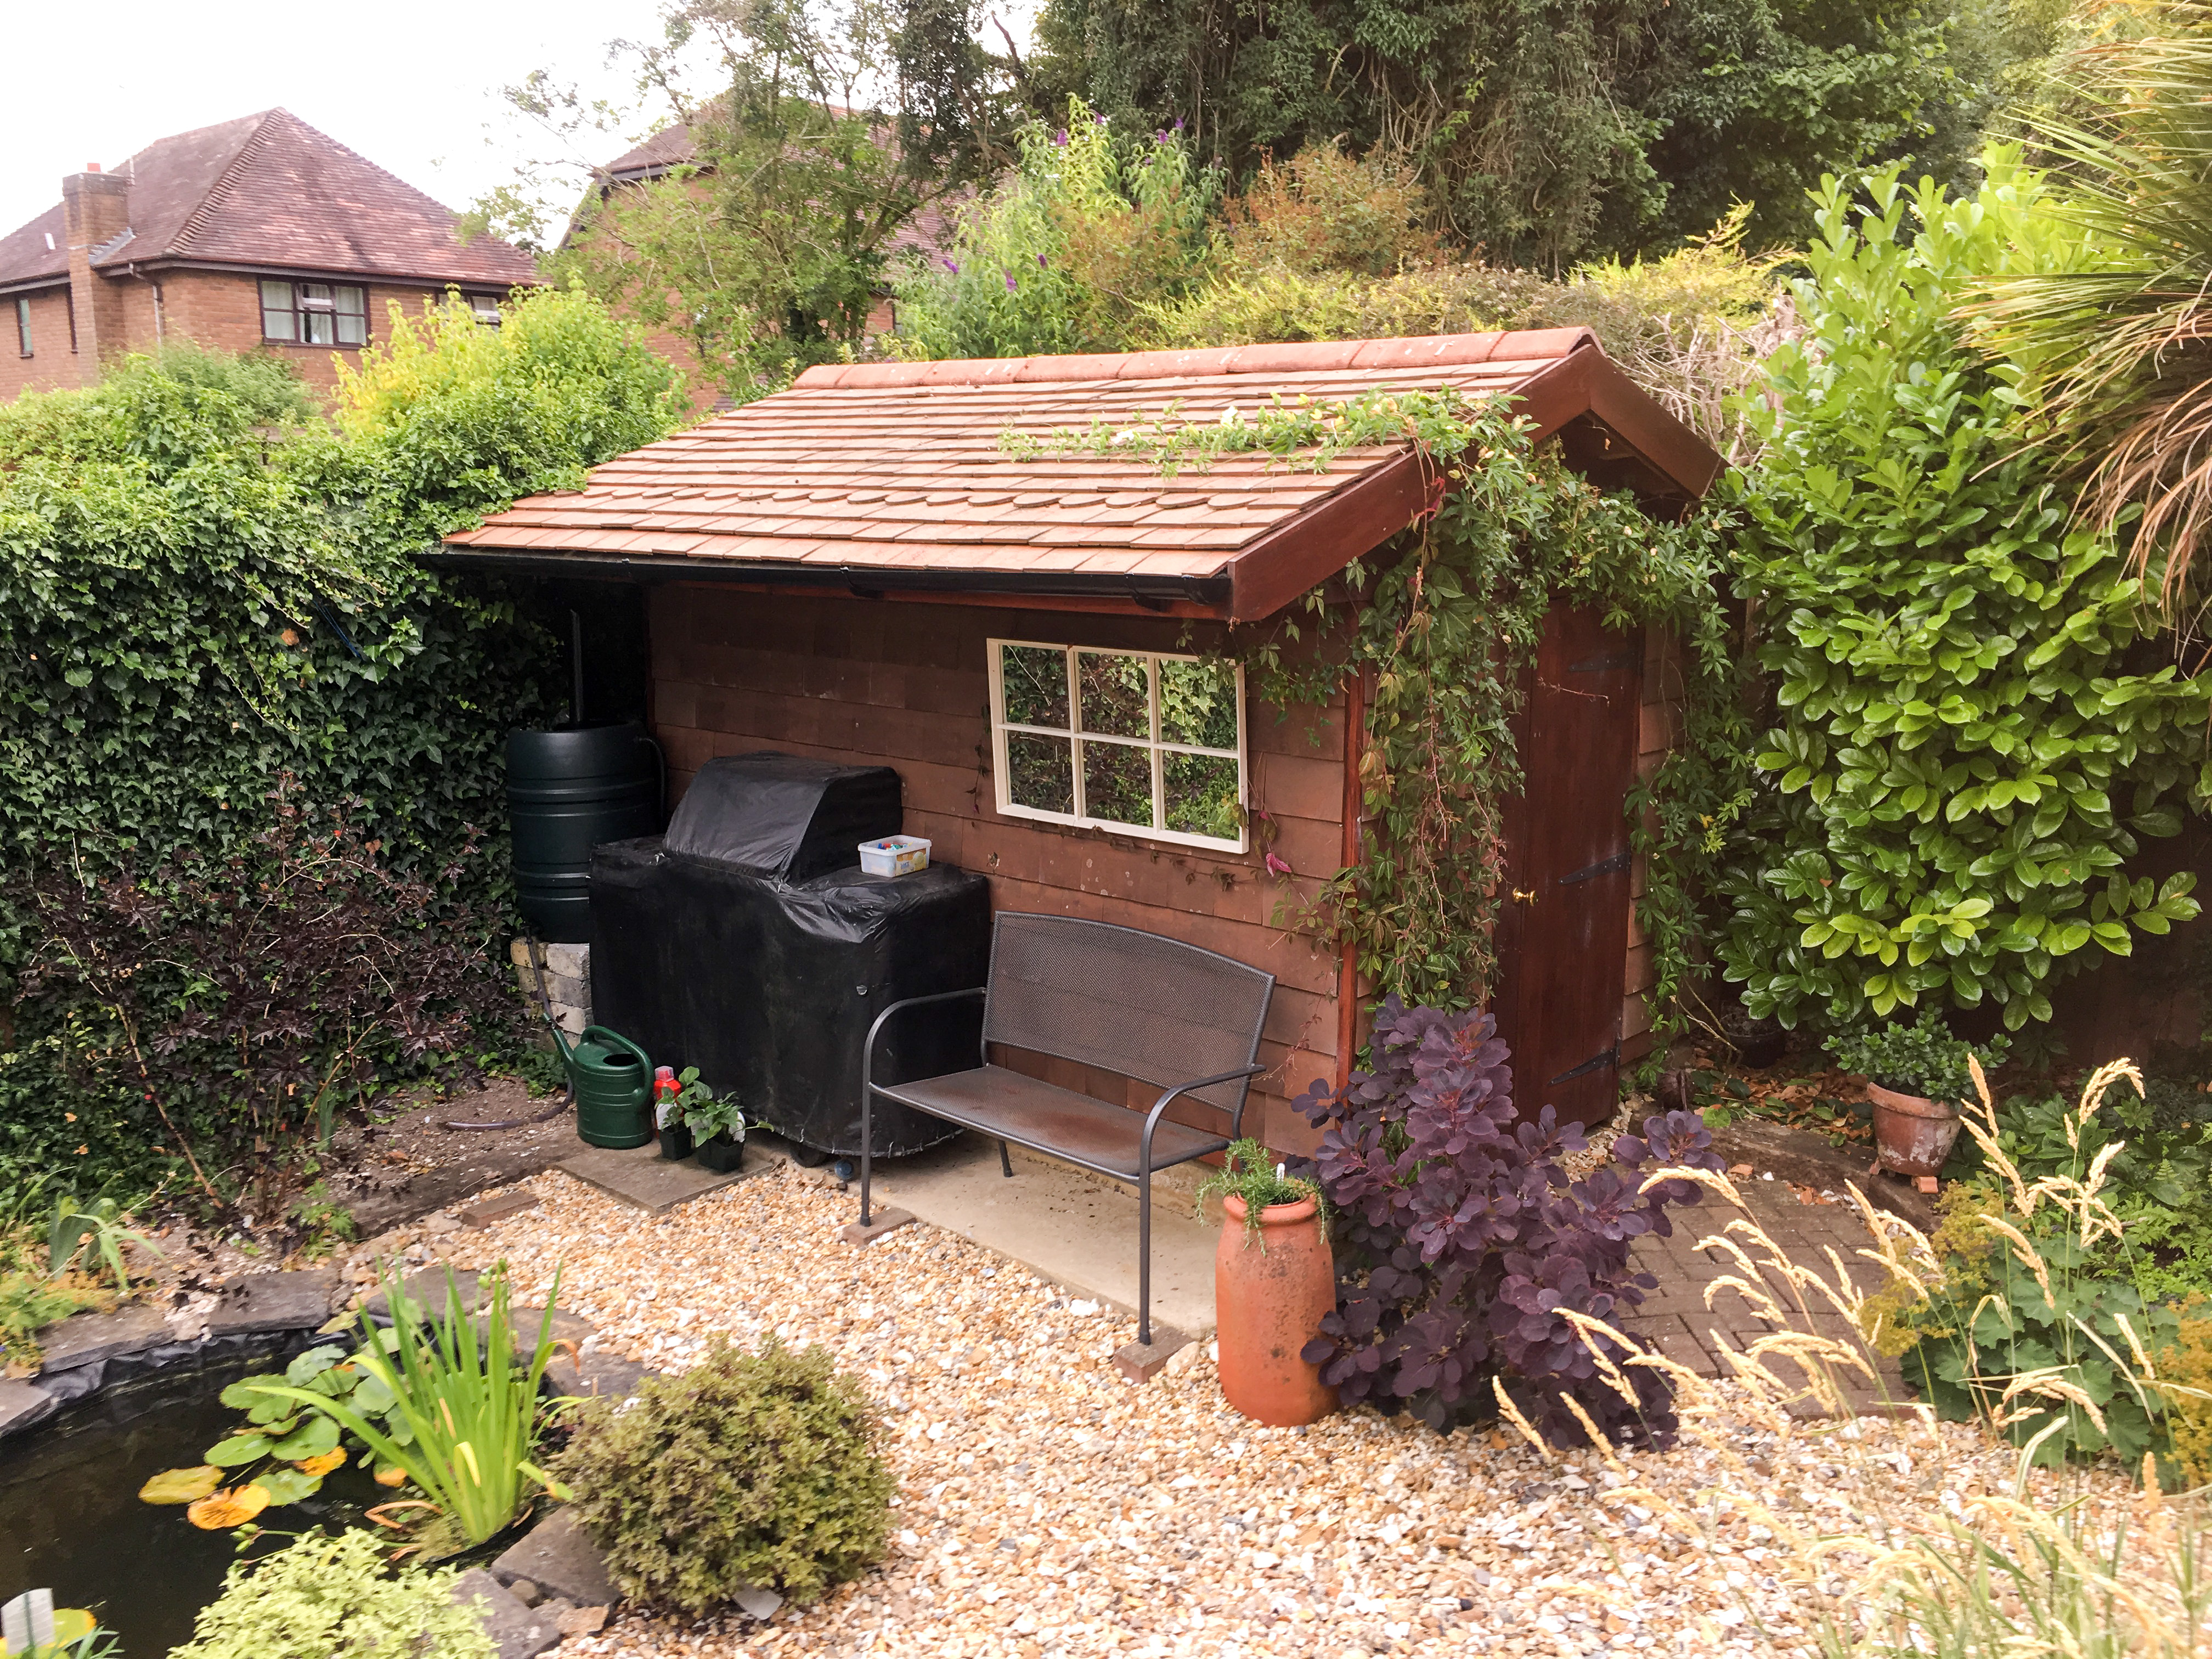
The project was now looking completed but I noticed that when it rained, the inside was getting a bit wet. This was because the water running off the roof was making the ground fairly damp. To stop this I installed some guttering and then ran this rain water into a water butt. I thought this would be handy to provide water for the garden in the summer. I also installed an overflow pipe and ran this over to my fish pond to keep it topped up.
Over all I have been very pleased with my little building project. I have ended up with a well built shed which will hopefully last for a very long time. The majority of the materials were recycled and so cost me nothing. There was also the saving of spending less on skip hire to have rubbish taken away. I had to buy some extra cement and ballast, planks for the door, the OSB board, building paper and my new 2m level. My total cost came to approx £500. If I had bought all the materials and paid someone to build it, the total cost would have probably been about £2000.
In my next project, which was to rebuild the garden, I was very pleased to be able to get some more use out of my new 2m long yellow aluminium level.
Article written by JJ Heath-Caldwell