Case Study - What can you do with a loft full of truss rafters? Loft Conversion Project!
What can you do with a loft full of truss rafters? Loft Conversion Project!
I bought my house brand new in 1990. It was well built and there was plenty of space. After we had moved in and unpacked I thought the loft would be an excellent place to store some of the empty boxes, along with some suitcases, camping gear and a few other things that were only used once a year. When I eventually removed the hatch cover and poked my head up into the void, I was amazed to find myself looking up into a huge space. The span was about 8m across and the height in the centre was about 4m up to the top of the apex but this massive space was completely filled up with pre-made roof trusses. A forest of timber rafters and supports stretching out in every direction. My instant thought was this would be great potential sometime in the future for a loft conversion.
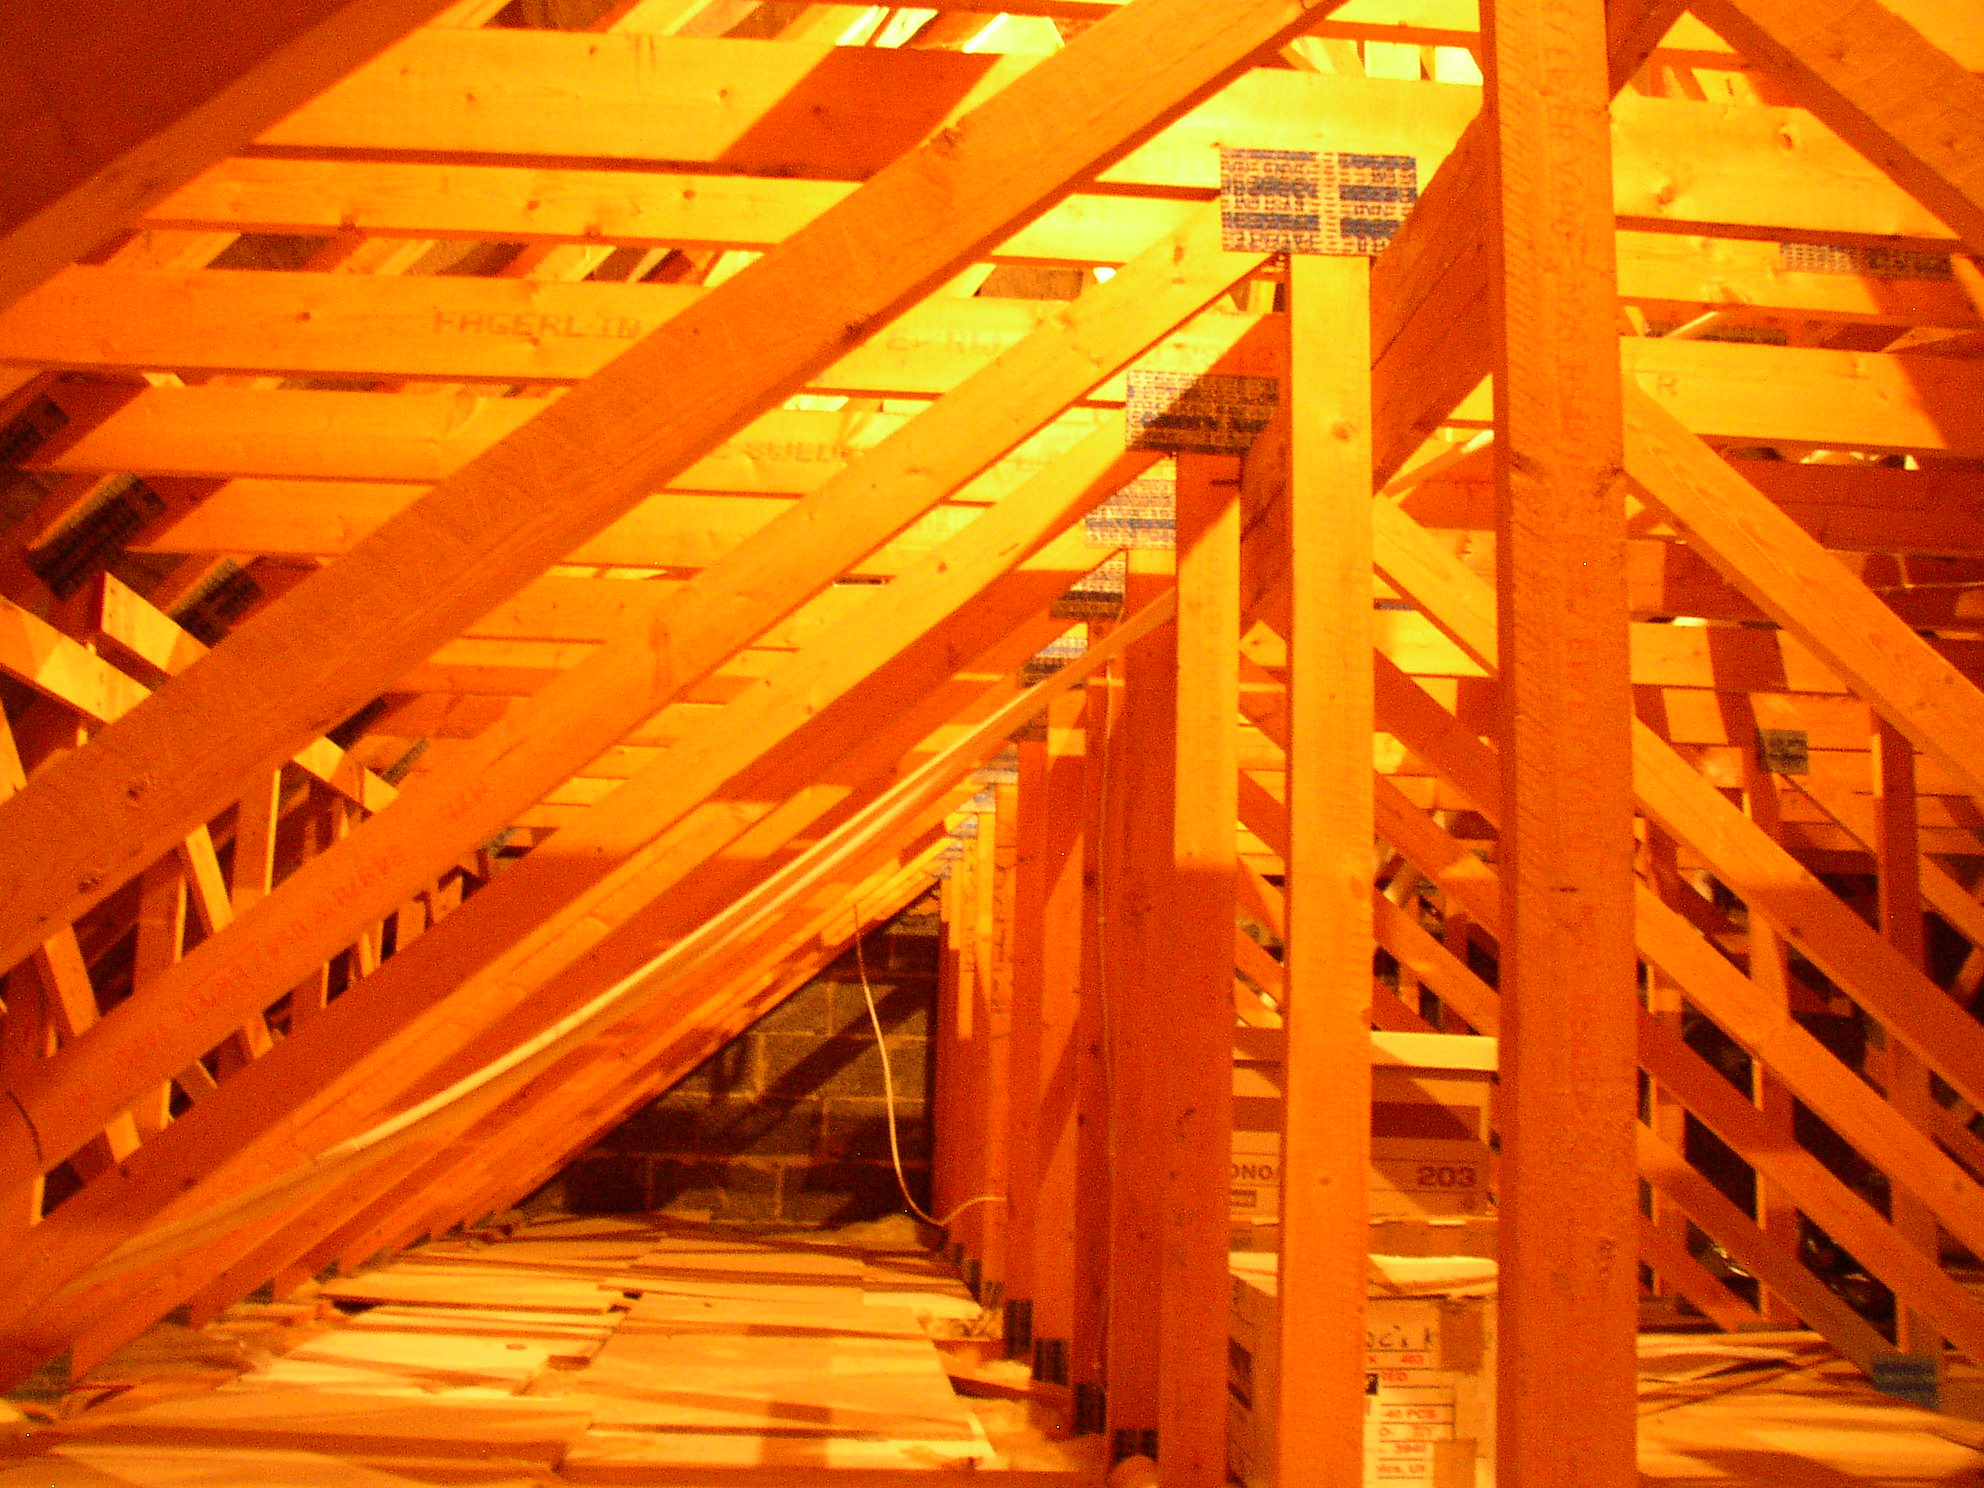 Inside the loft - with all the truss rafters
I did not do anything straight away. The loft space was useable for storing stuff and over the years I gradually filled it up with all sorts of infrequently used clobber.
One question I had was; why had the builder not made this an open space right at the beginning when he was building the house? Roof trusses going in all directions made the space very difficult to use. An open space would have been much more practical. A friend of mine who was a structural engineer explained to me that the cost to the builder would have been significantly more if he had built the roof with a large open space. Most builders prefer to use pre-made truss rafters as the work can be done much more quickly, resulting in a significant cost saving.
Eventually I decided to go ahead with a full loft conversion and side extension project. I put in my planning application and received approval a month later. After that I appointed a builder and it was full steam ahead. The first question was would we need to build a temporary roof over the top of the house (using scaffolding and sheets of tin) or could we do without? The builder was confident that we would not need it, so we made the decision to go without. We were going to be building during the summer months and as it turned out the weather was kind to us and we got away with just using some tarpaulin sheets. This ended up being a considerable cost saving.
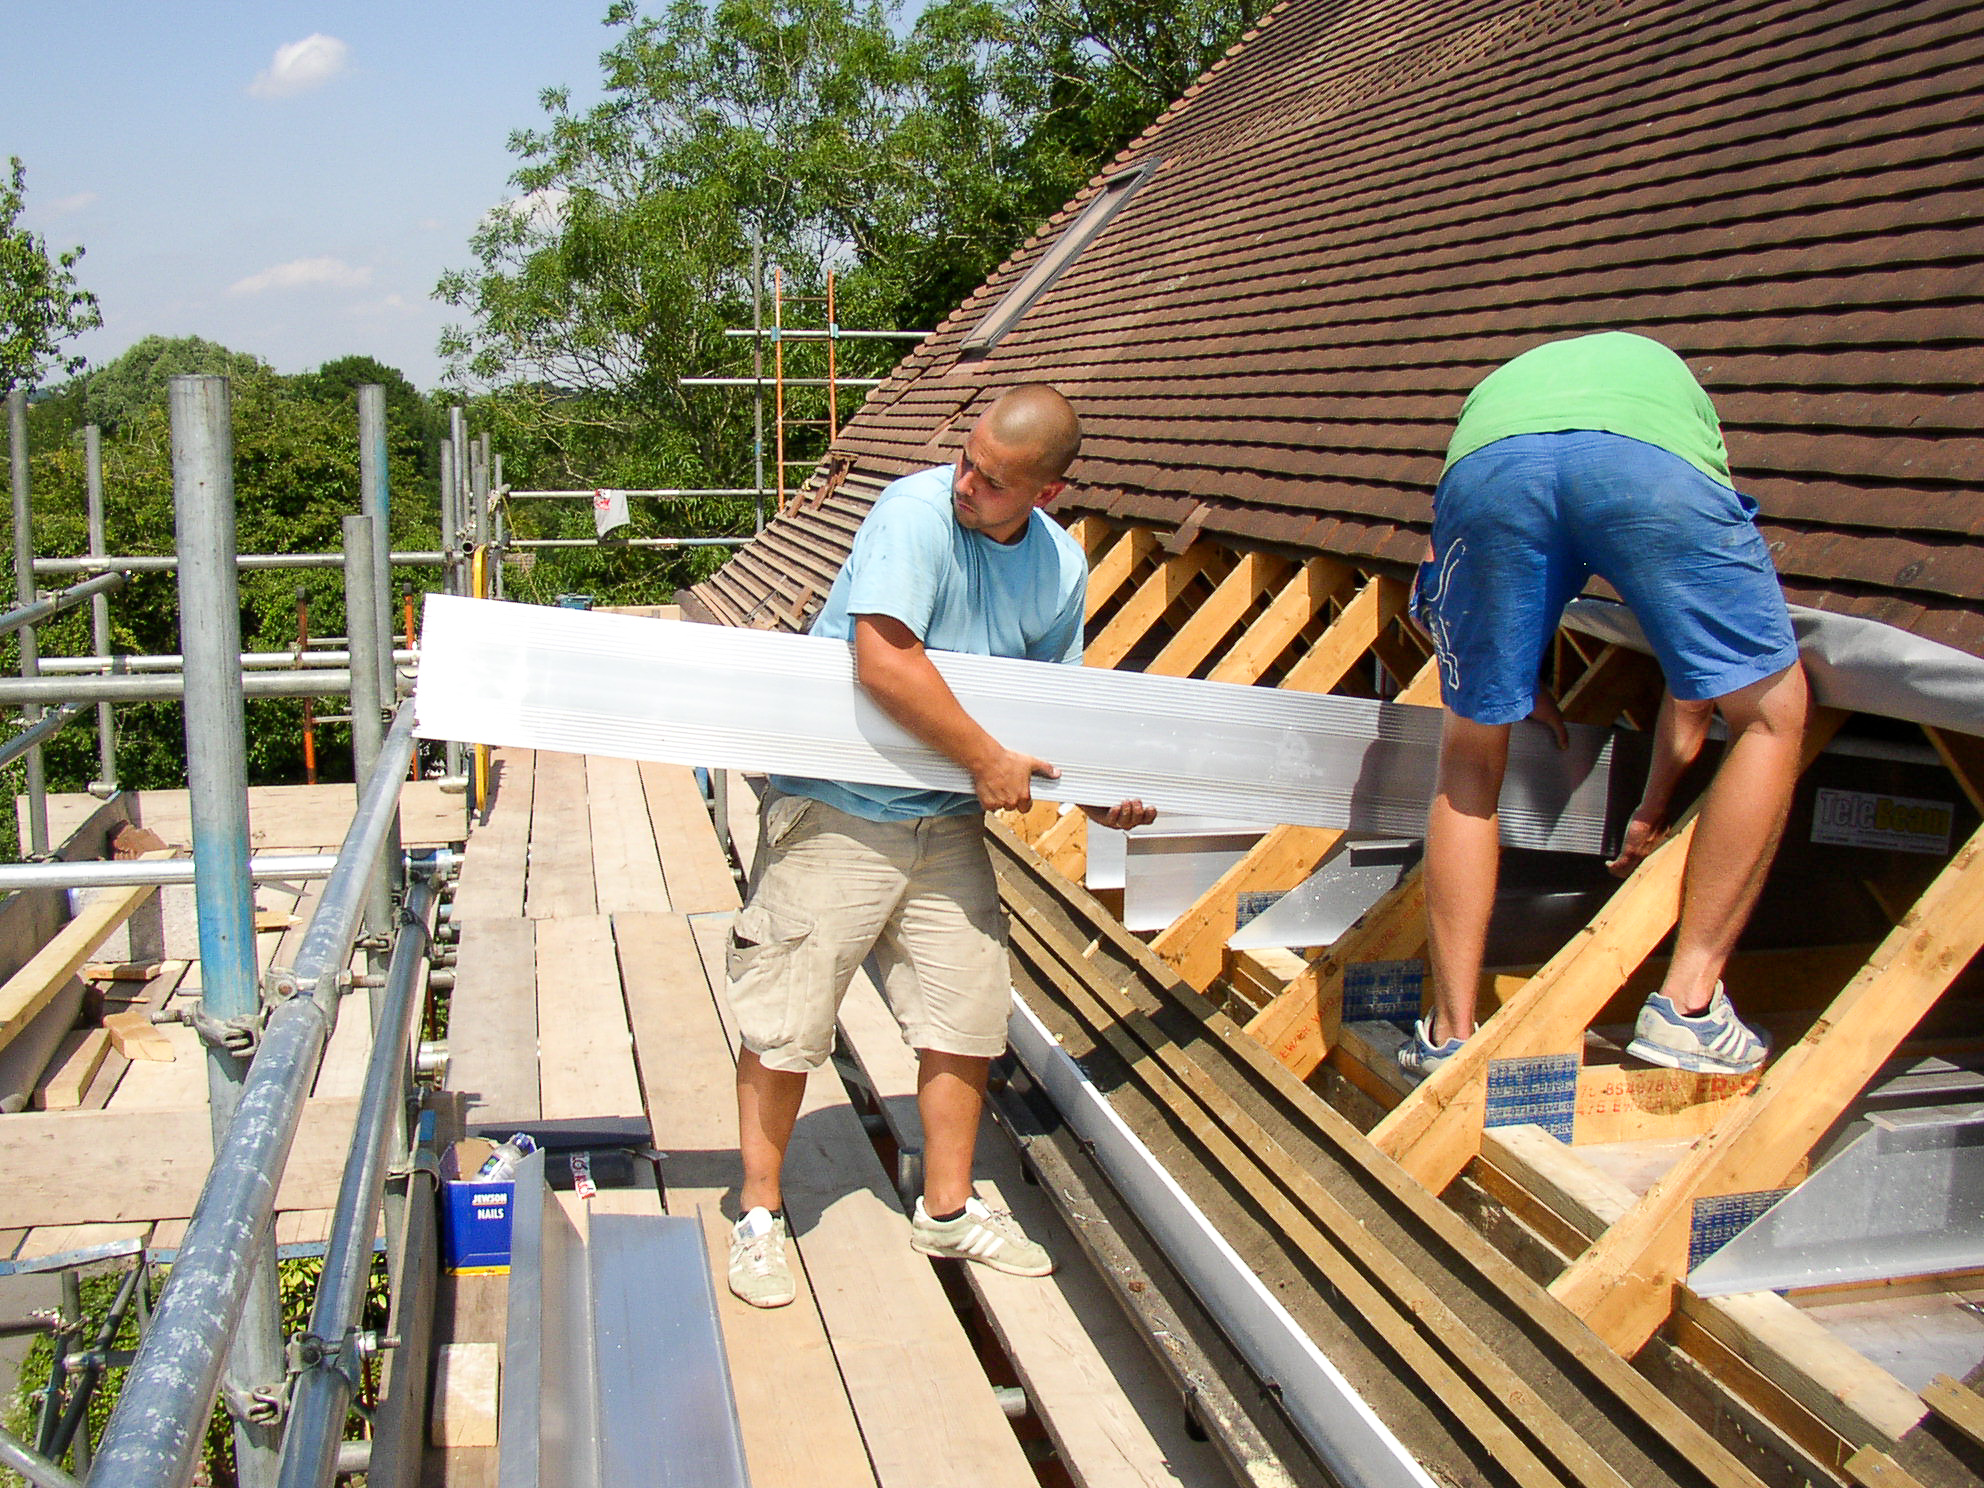 Installing aluminium Telebeams
Another major item that had to be considered was how to strengthen the existing roof beams. These beams, while being strong enough to hold up the ceiling below, would not be strong enough to support the weight of a new floor above. New beams would be required. For small loft conversions this can be done by installing additional wooden rafters but for large projects steel beams are usually required and these can be quite costly. They also take up a lot of space and the process of installation can be quite involved. After investigating this further, I identified an aluminium beam ‘telebeam’ which would give me everything I needed for my project and at the same time would keep the cost down.
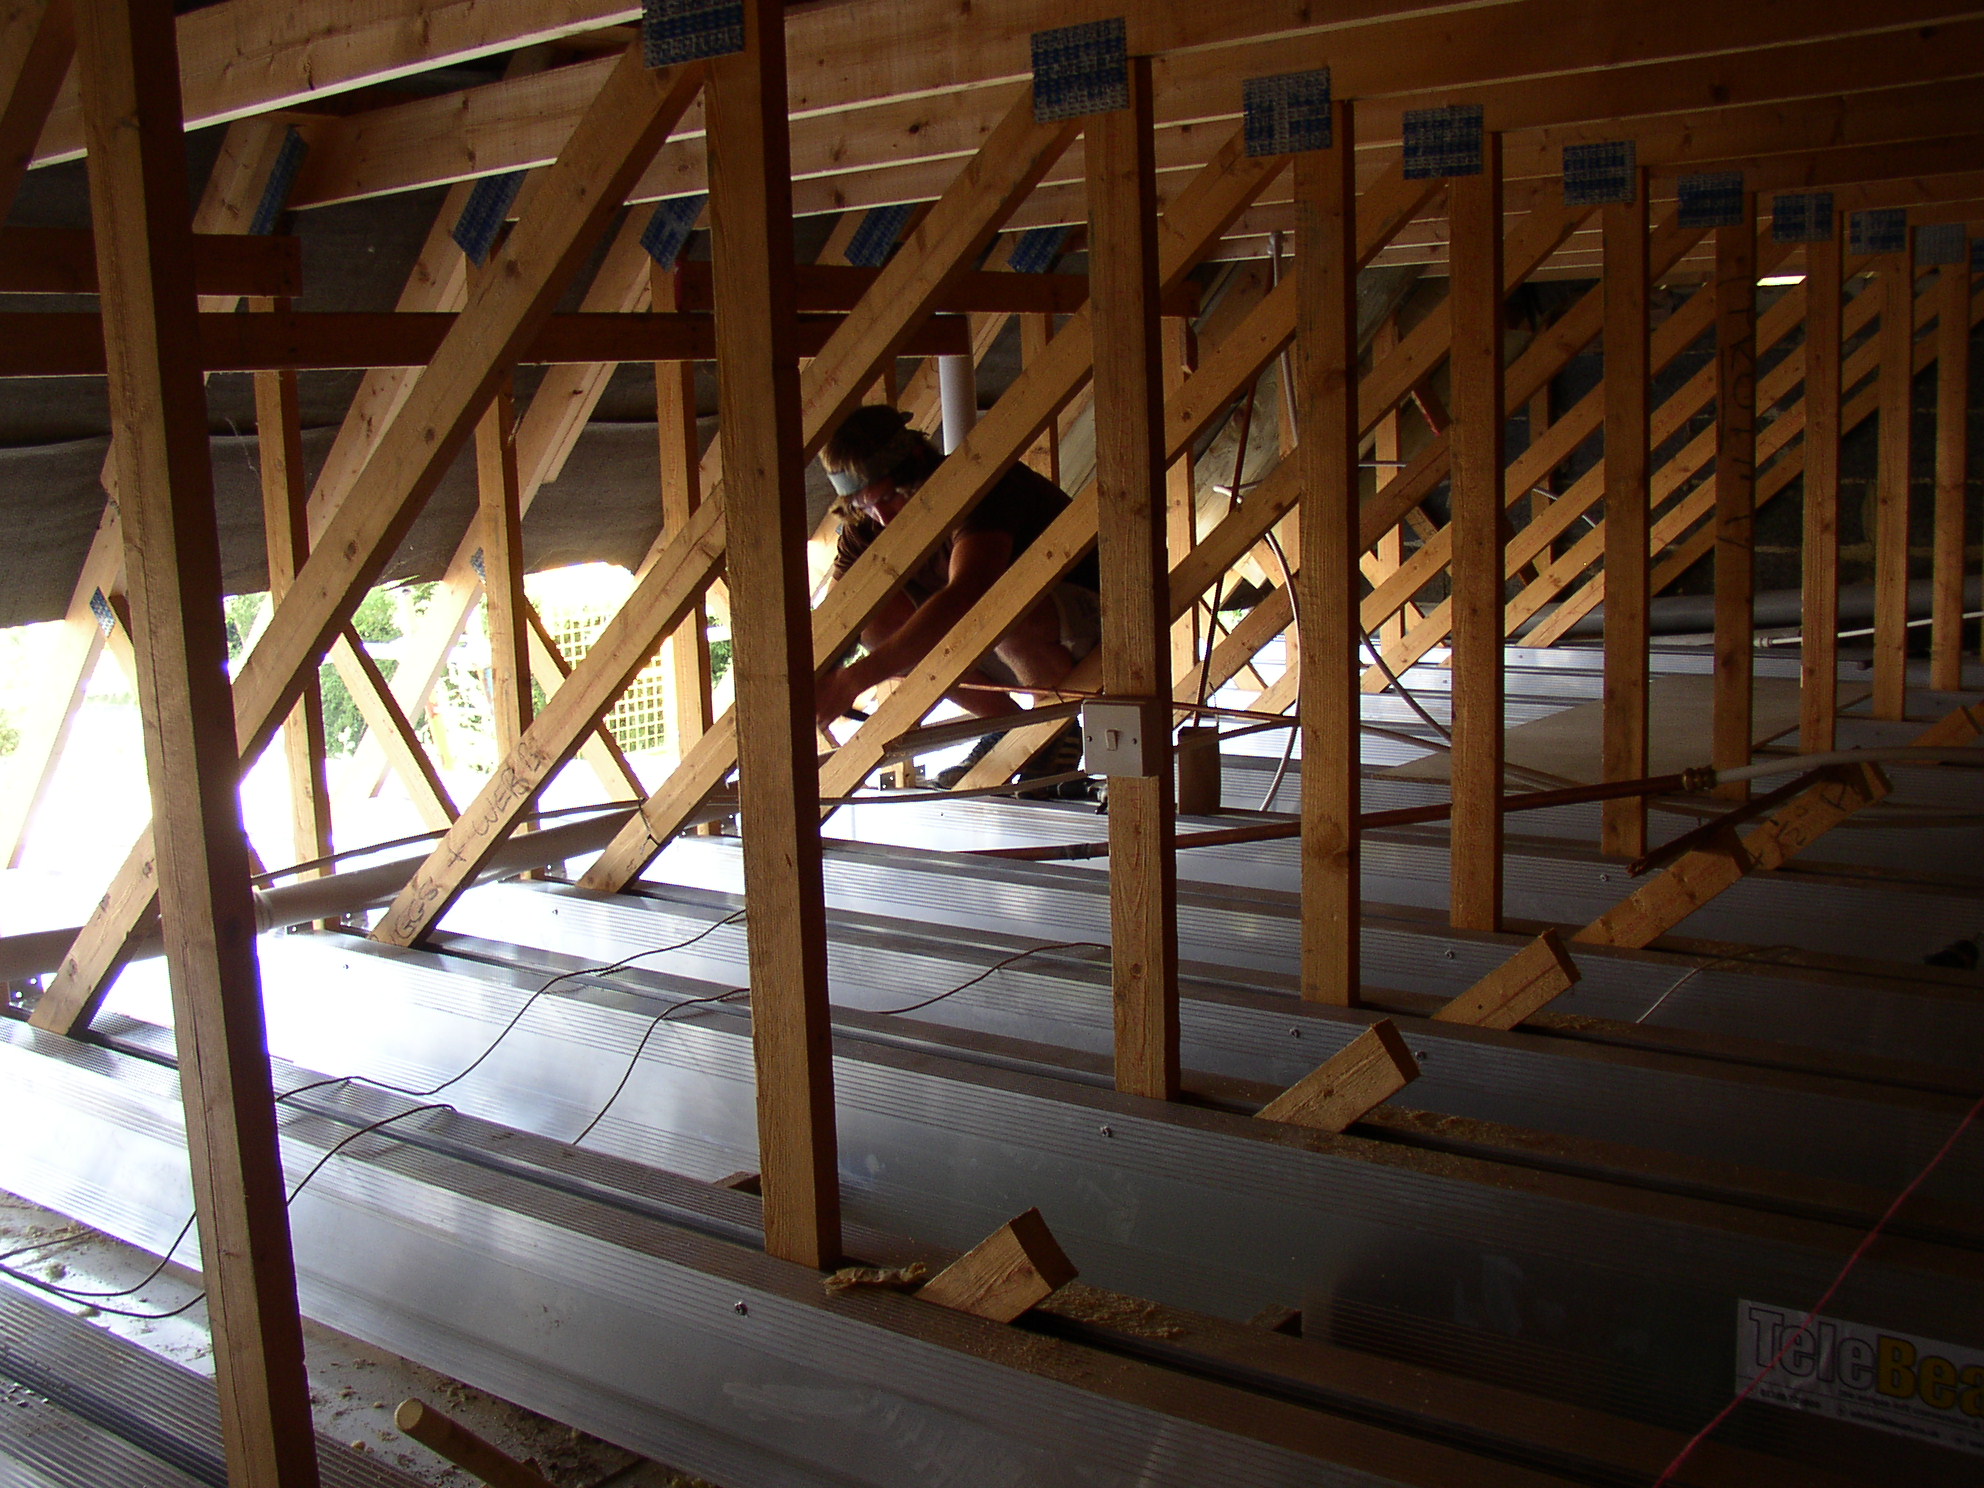 Loft with the Telebeam beams installed
So the builders moved onto site and we made a start. Scaffolding was erected on three sides of the house, to make a very sturdy work platform at roof level. The builders then removed all the lower roof tiles from one side leaving the majority of the roof in situ to keep everything dry. The new aluminium beam sections were light weight which meant that they could easily be man handled without the need to hire a crane. The builders pulled the aluminium beams up to the roof space one by one, and positioned them in pairs on each side of the existing rafters. Everything was then bolted together ready to support the new floor. Next wooden rafters were pulled up to the roof space and used to strengthen the existing roof rafters, under the tiles. Once all the aluminium floor beams and the wooden roof rafters were in place and secured, the middle sections of all the old roof trusses were cut out to reveal an amazingly large open space. Floor boards were then put down. Incredibly all this was achieved without any damage to the ceilings below.
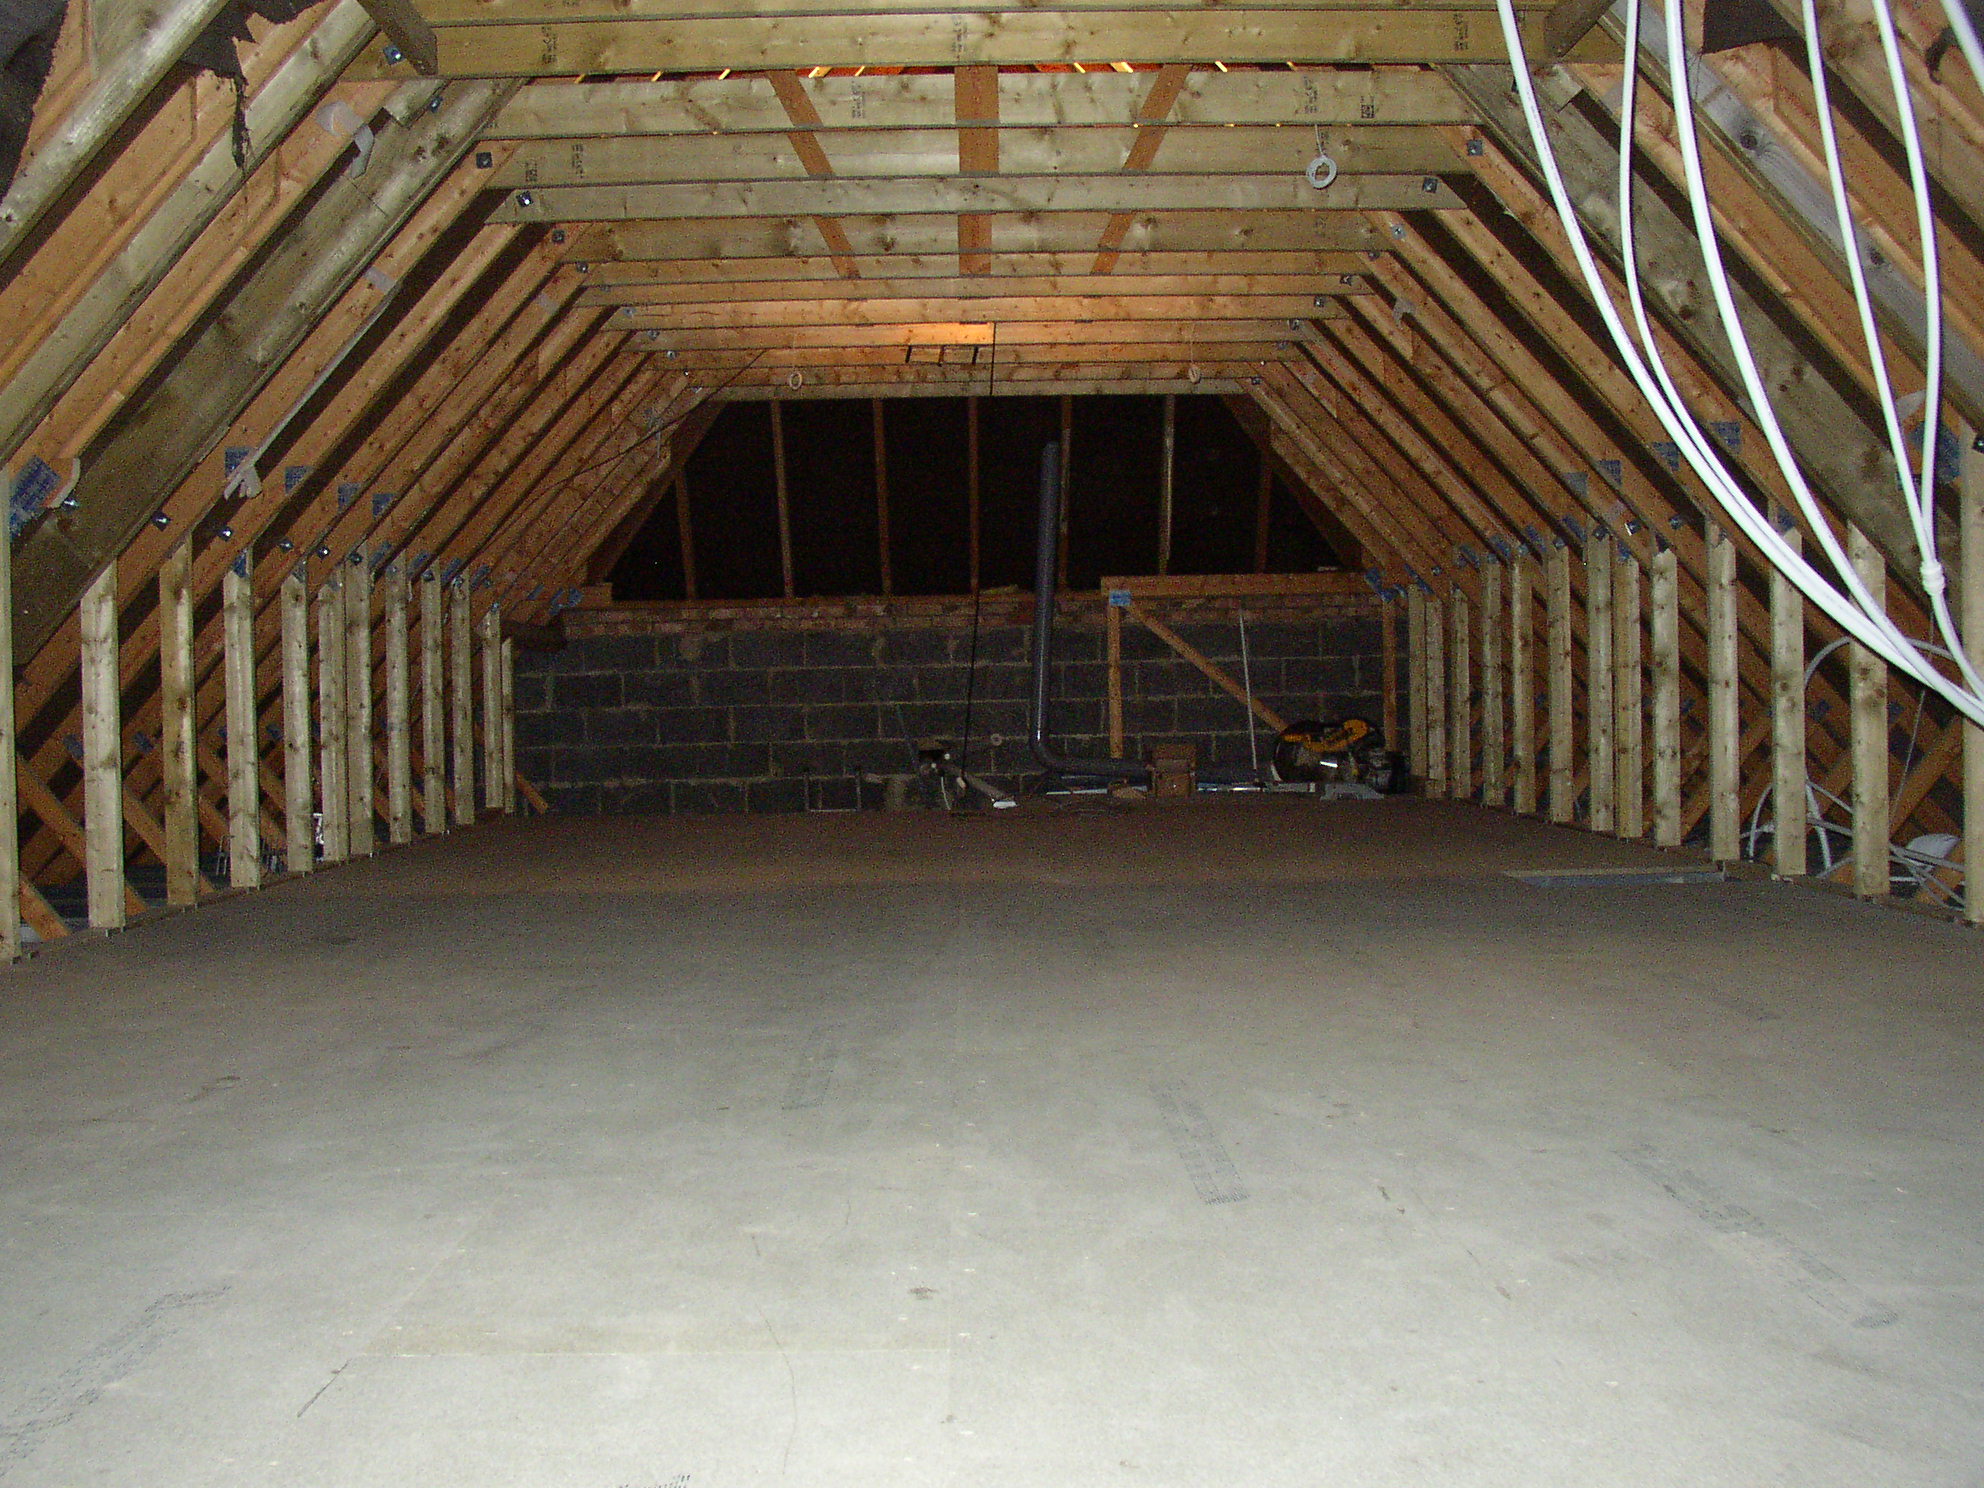 Loft with the truss rafters removed
The next step was to put in a stair well but we had to first decide the best place for it. The choice here was a stair well in the centre of the house with the new rooms leading off either side or putting it on the end, in which case we would need a long gallery landing to provide access to all the rooms. For most projects a central stair case is favoured but in my case I opted for the new stairs to be installed at one end of the house. This meant the stairs coming up under the hipped roof and so making the best use of the space in this area which would otherwise have been limited by low head height.
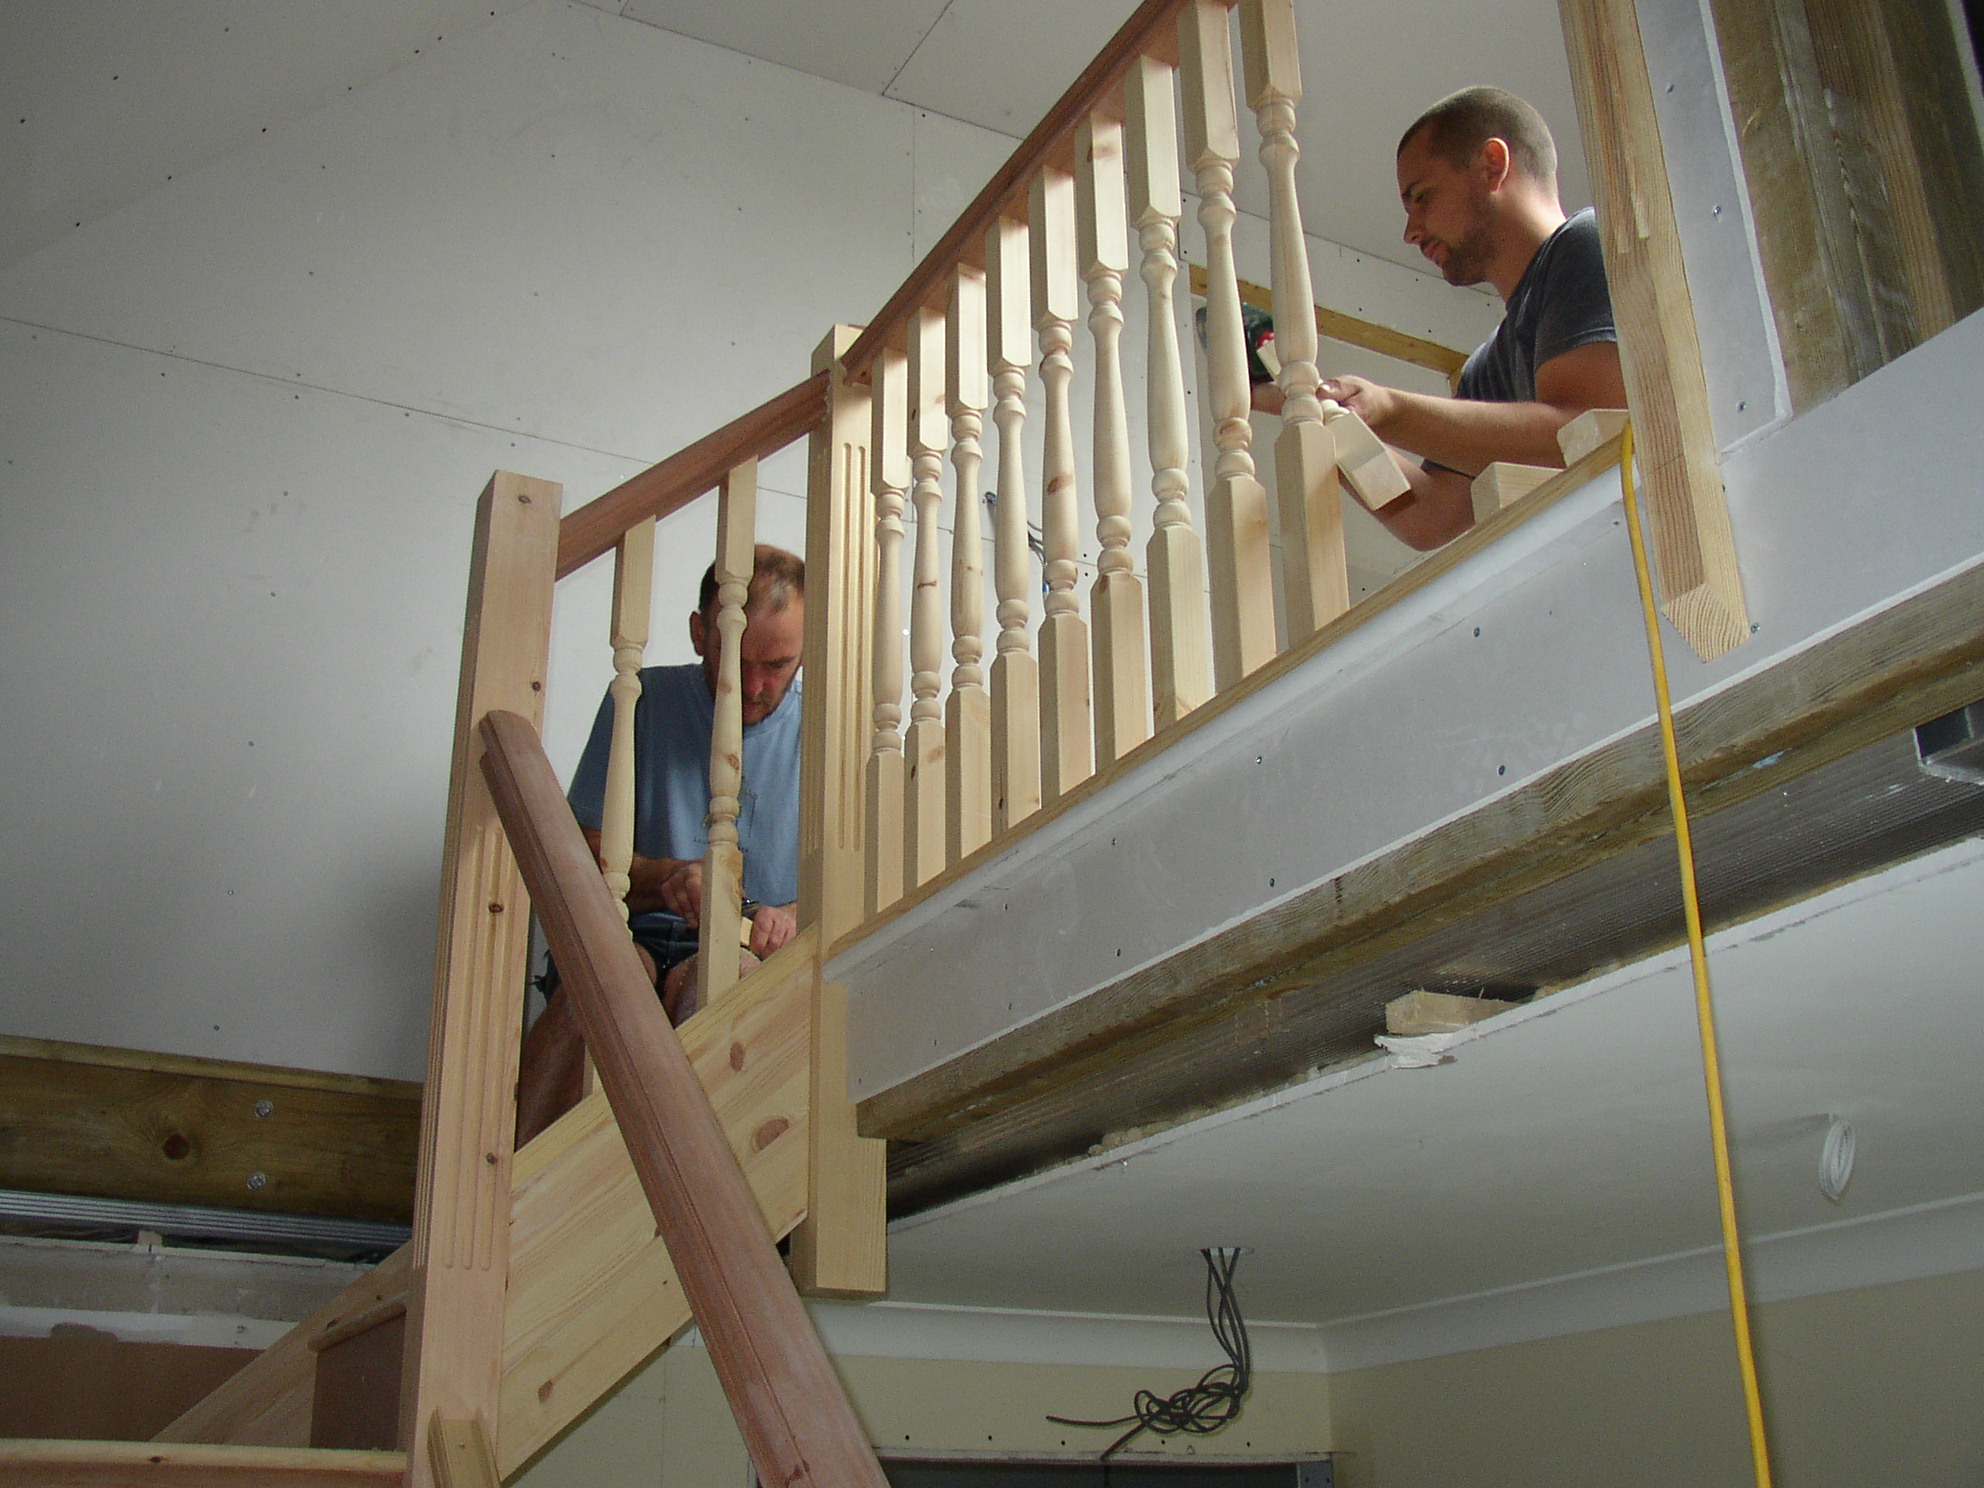 Installing the stairs to the loft conversion
Now with everything all opened up we were able to make a final decision on where to build the internal dividing walls to make the rooms. We experimented possible floorplans by placing bits of timber on the floor and moving them around until we had achieved what we felt would be the best layout. We had of course drawn up an initial layout before we started but we actually ended up with a completely different floorplan after moving our markers around.
One thing that also had to be considered was where the new velux windows would be positioned. We wanted to have these positioned so that they would look ok from within the rooms but we also wanted them positioned so that they would look right from the outside. Eventually we worked out the best compromise.
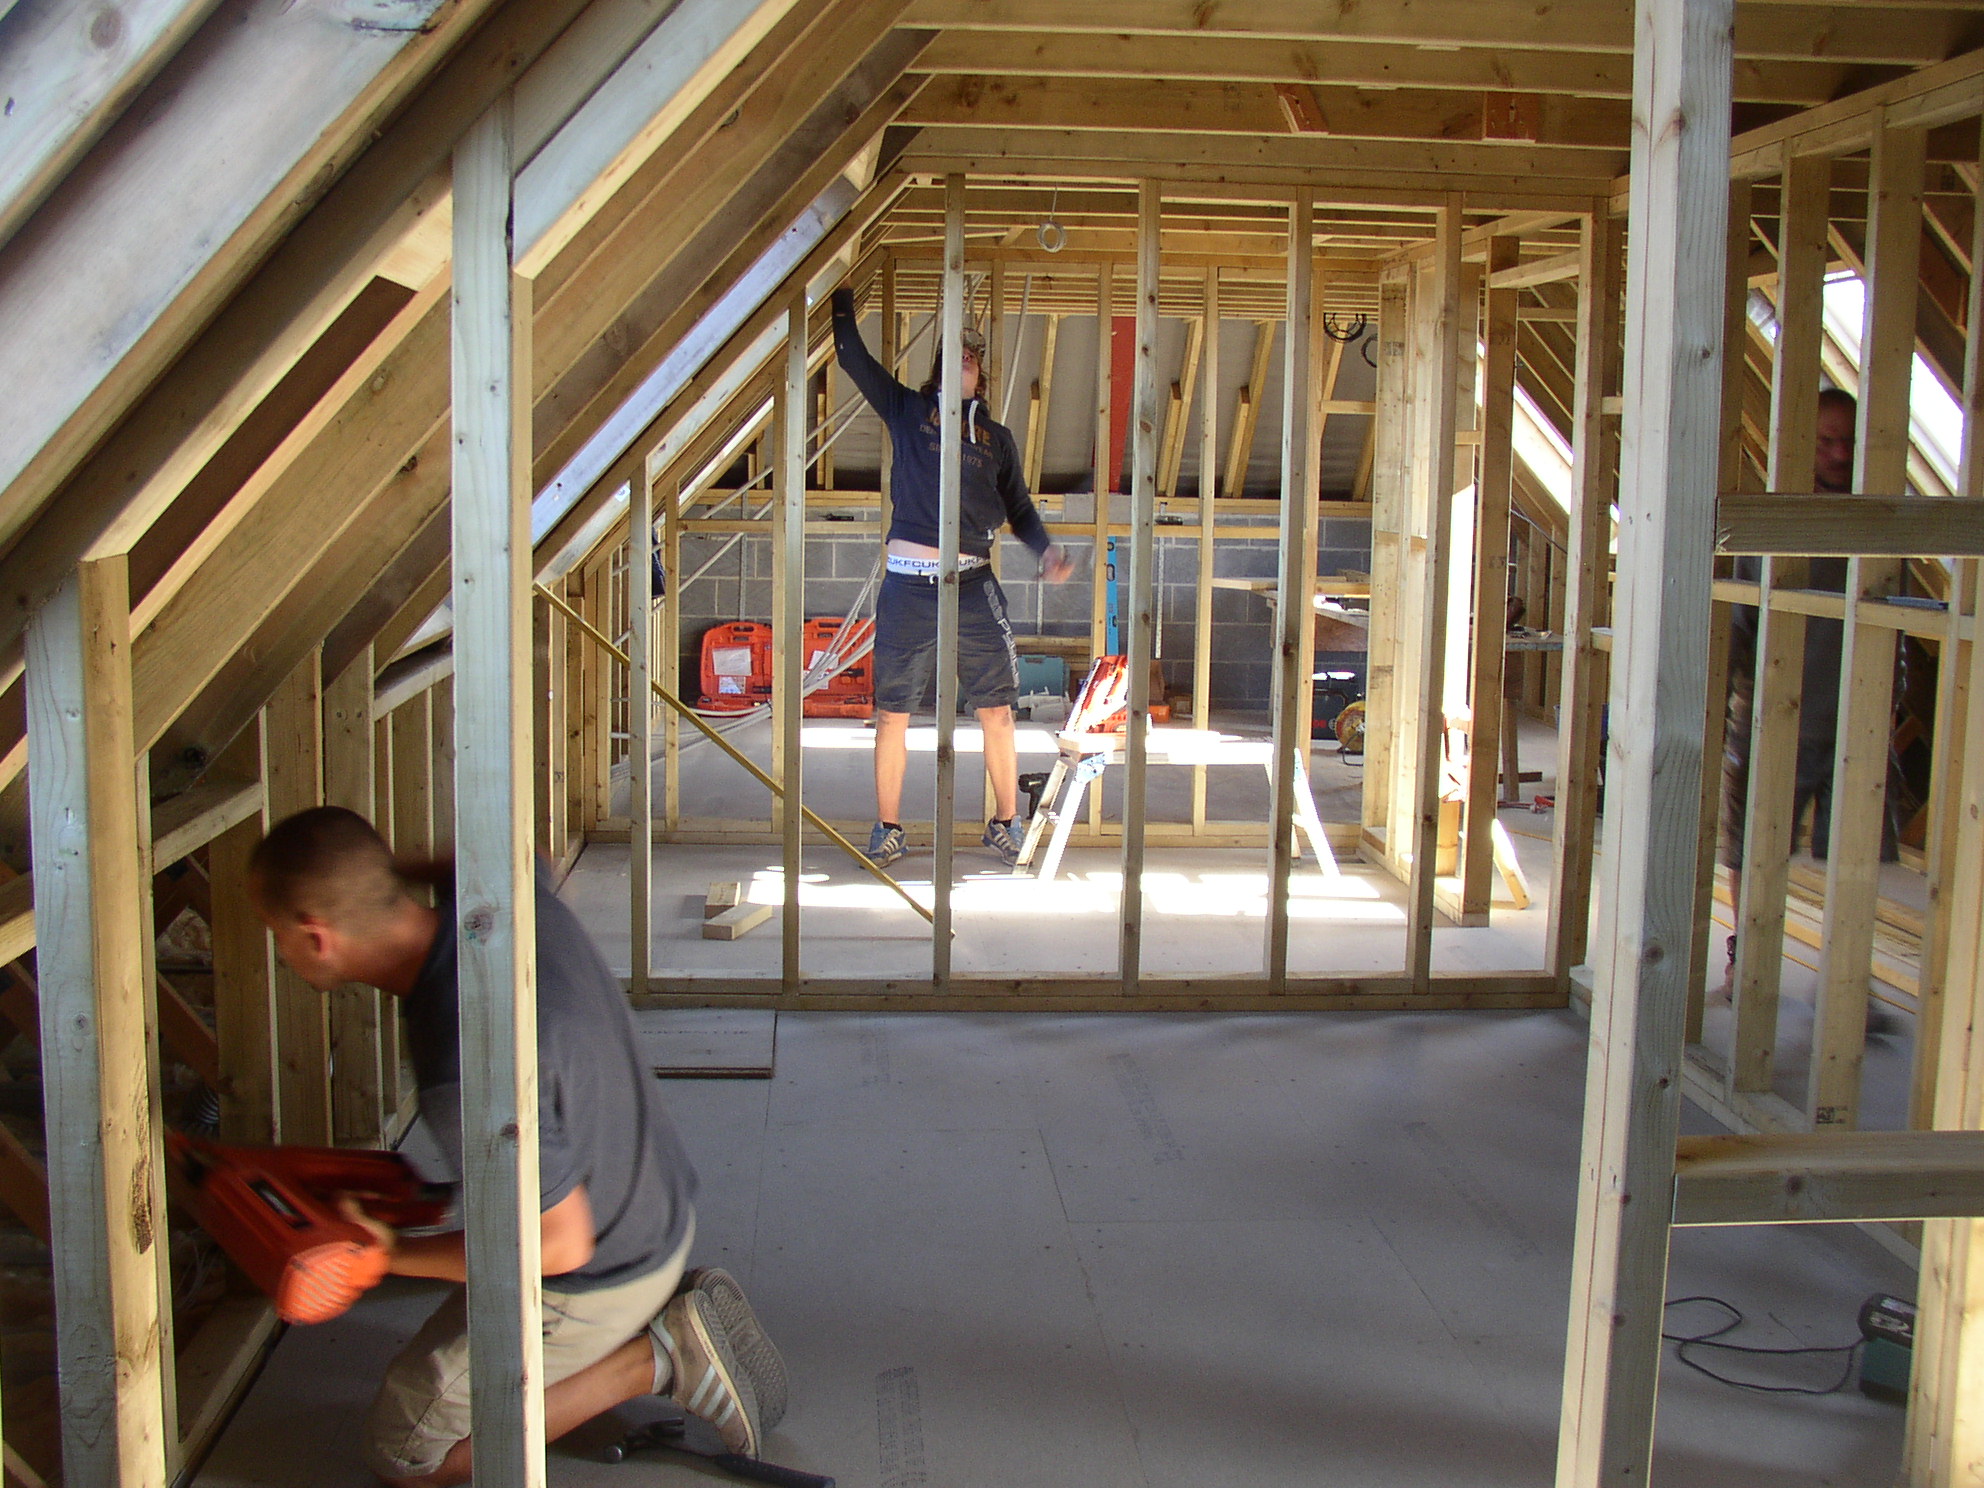 constructing the internal walls
The floorplan now decided, the builders set to, erecting the walls and at the same time the velux windows were installed. Electrics consisting of lighting and power sockets were wired in everywhere. We also installed an en-suite bathroom and managed to put this directly above an existing bathroom thus giving us good access to the existing plumbing pipework.
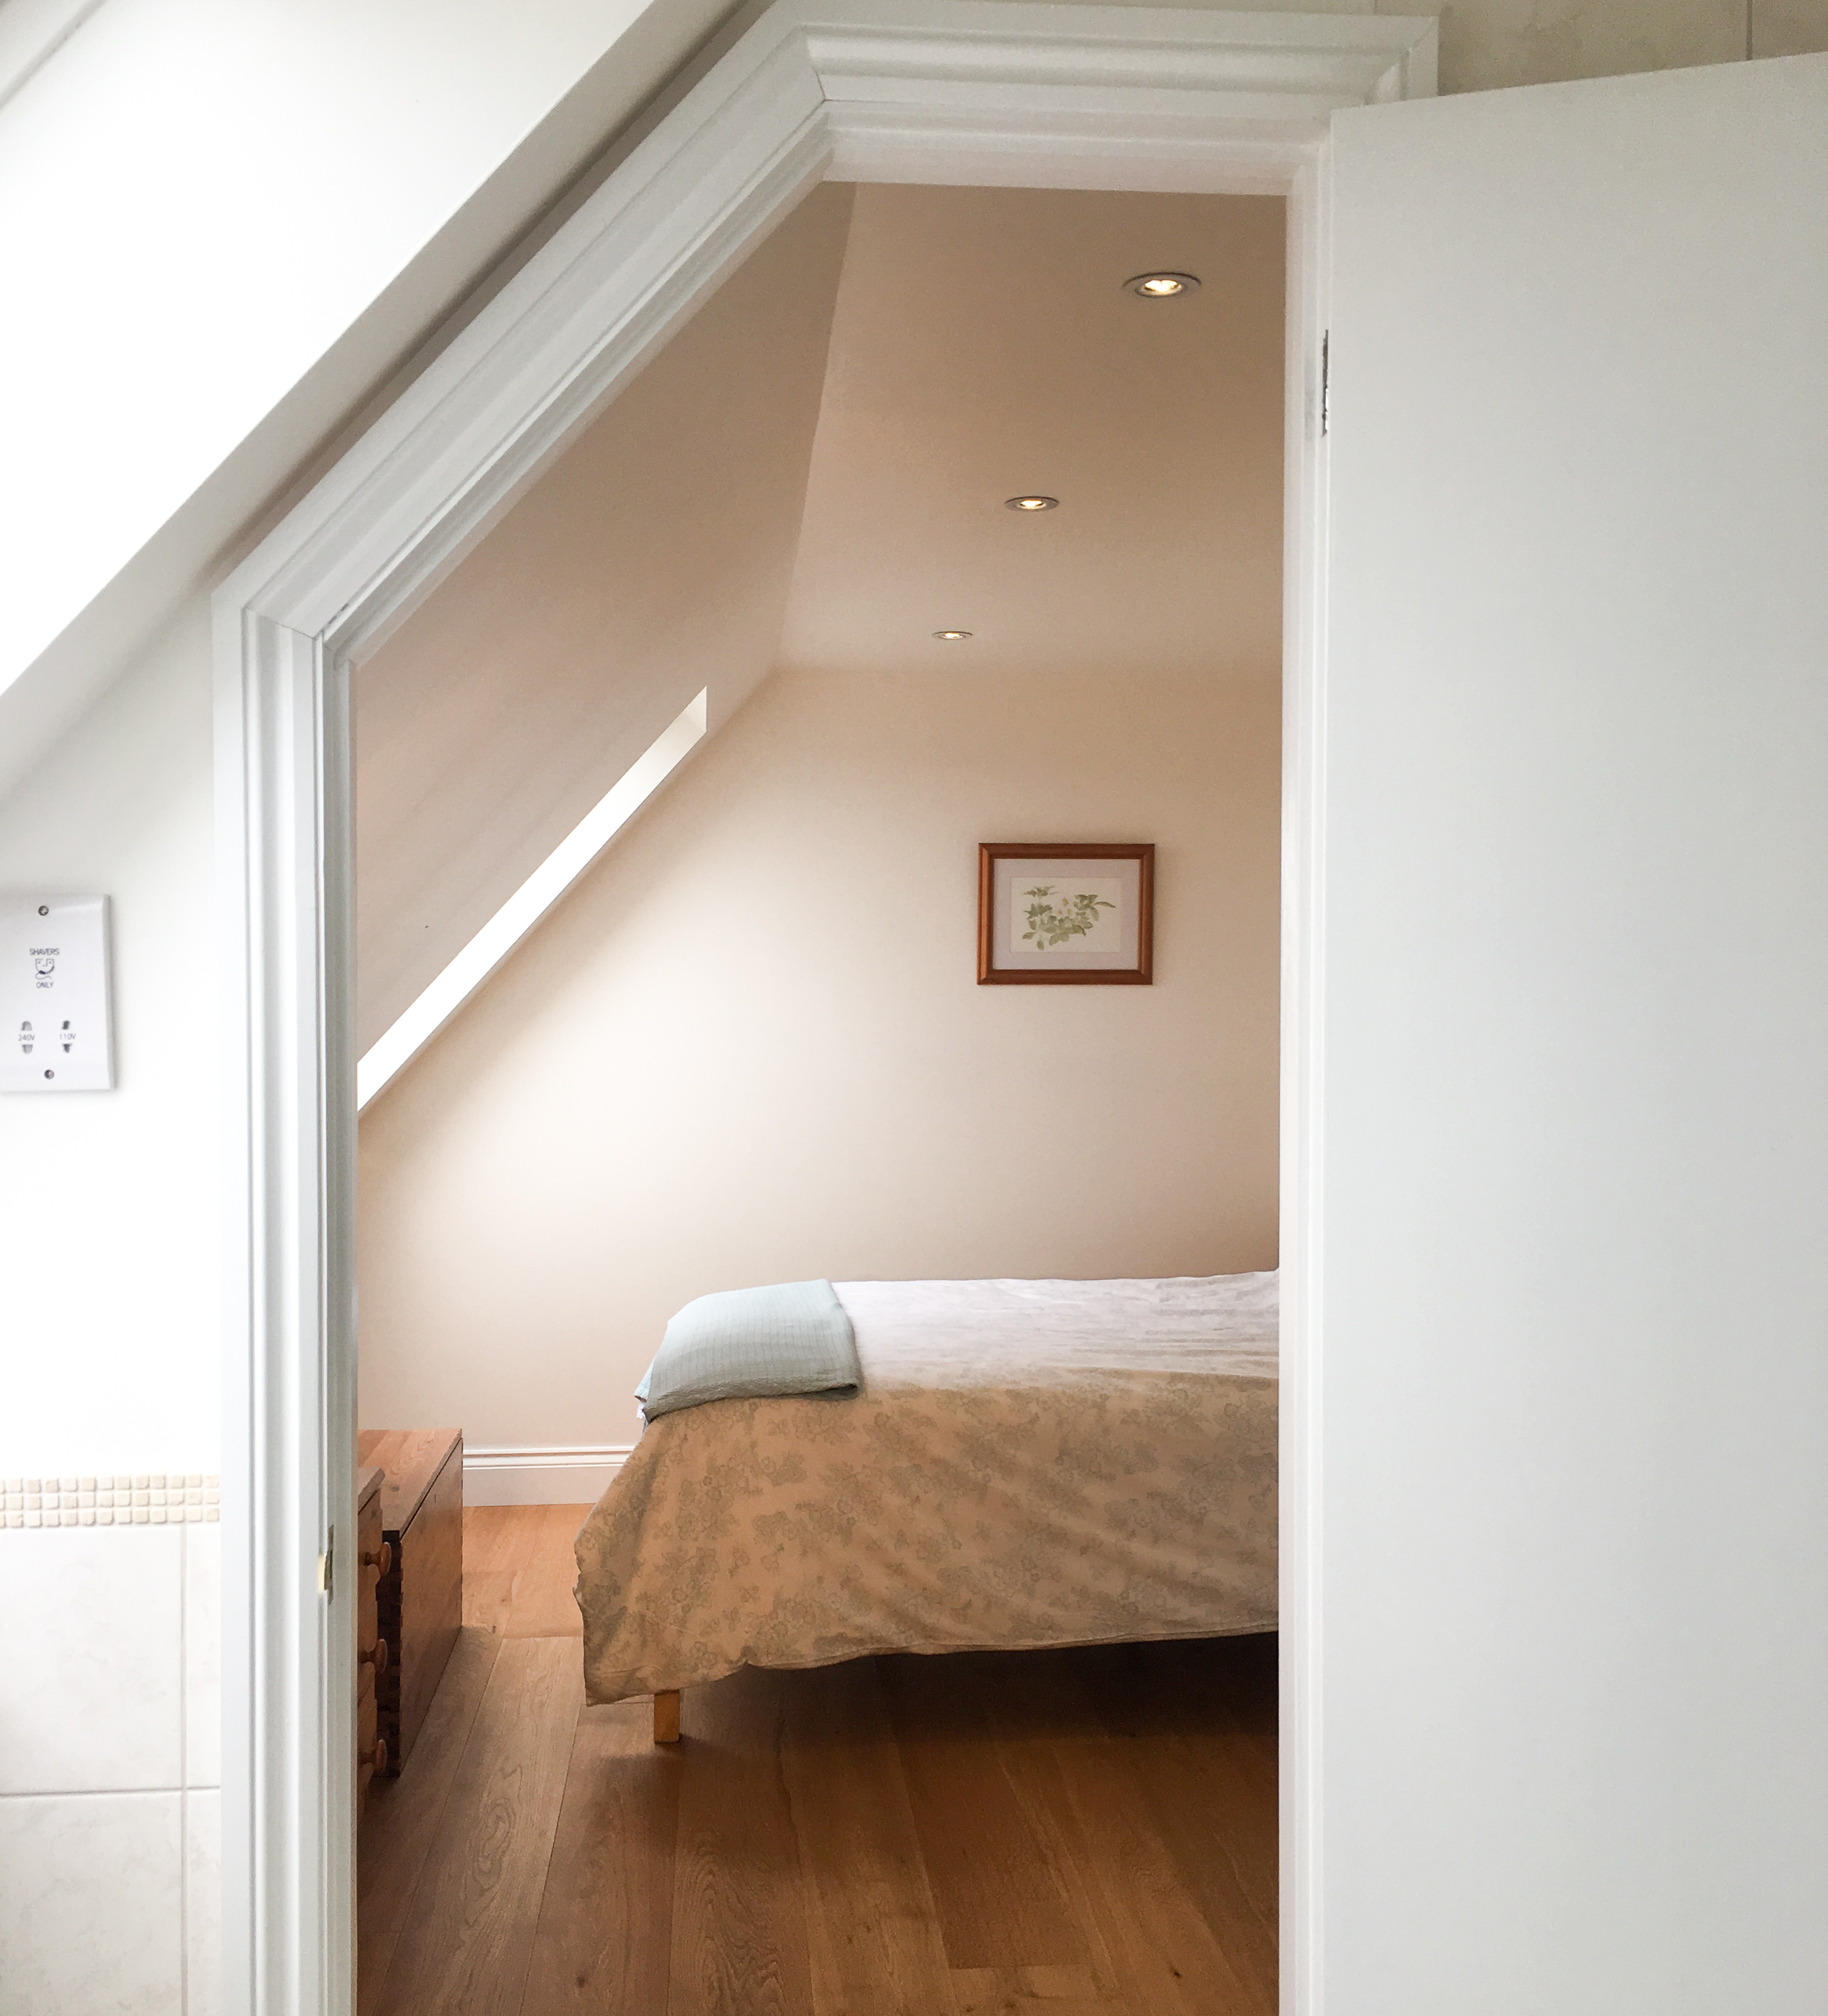 The finished bedroom
For us the whole project went very well. We ended up getting our costs within budget and everything done to the quality that we required. Often loft conversion projects can end up being a disappointment as on completion the owner finds out that roof height is very limited and as a result the space ends up being rather pokey. Looking back, I was very lucky in that my roof had an unusually high 47 degree pitch and so there was lots of head room. In fact I even ended up with a small loft space above the new ceiling which means that I still have some storage space for camping equipment and other infrequently used bits of clobber.
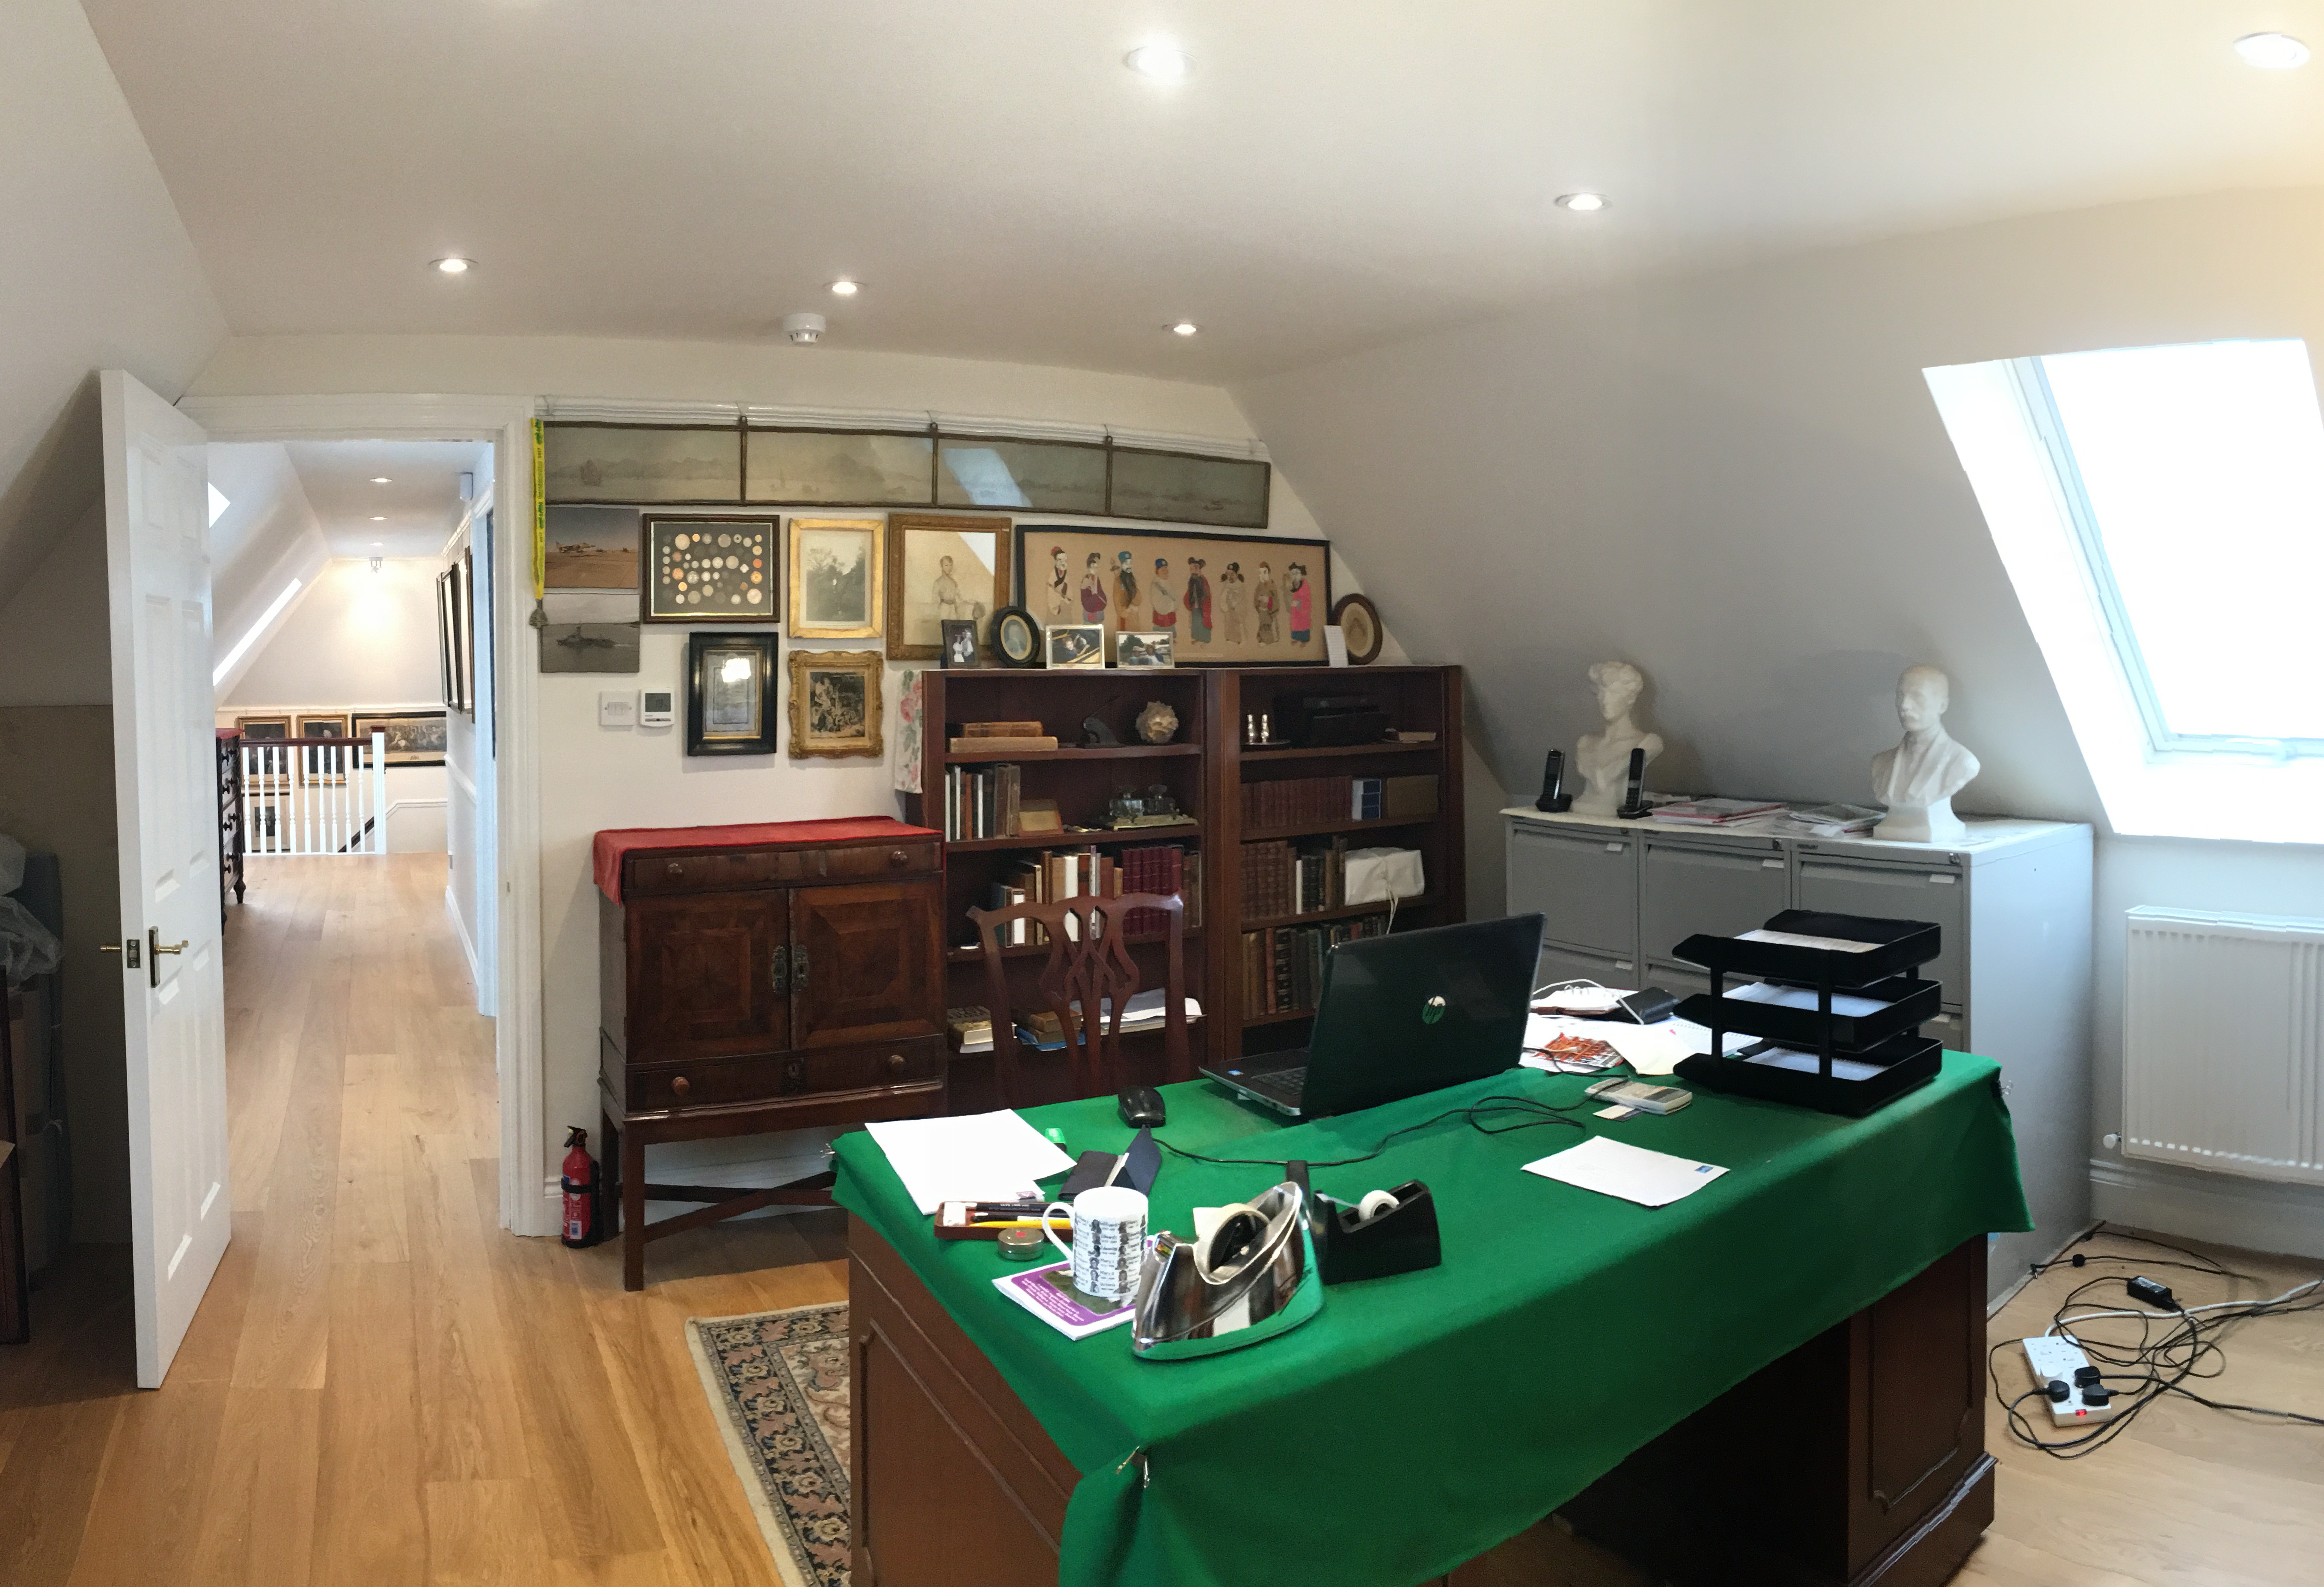 Office in the loft conversion
 The finished loft conversion
Article written by JJ Heath-Caldwell